| Project Home |
Project Illuminate
Creating Your Own Light Set at Home
Here is a brief guide to get you started with your own lights and Arduino board. As you go through this guide, please let me know if anything is unclear or if you have any questions.
Shopping List
- An Arduino Uno. You can buy directly from them or through one of their many distributors.
- WS2811 Color-changing LEDs. These lights arrive in a set of 50, which we halved for our projects. If you choose to leave them as 50, purchase a longer strand, or create a strand of lights with some other number of leds, change the NUM_LEDS value in lights.h to the new length, and then you should be able to program them as before. The bulbs will be addressed from 0 to NUM_LEDS-1.
- A USB cable
- A 5V 2A power adaptor
- A 5.5mm x 2.1mm DC Power Cable Female Connector Plug
- A Jumper Wire Kit (Similar items available elsewhere.)
Tools
-
Wire stripper (can be done with a wire cutter if necessary)
You can watch this YouTube video to see how to use a wire stripper. - Screw driver
- Soldering iron and solder
- Electrical tape or heat shrink sleeves.
Hardware Assembly
Once you have gathered all your supplies, you are ready to assemble your hardware.
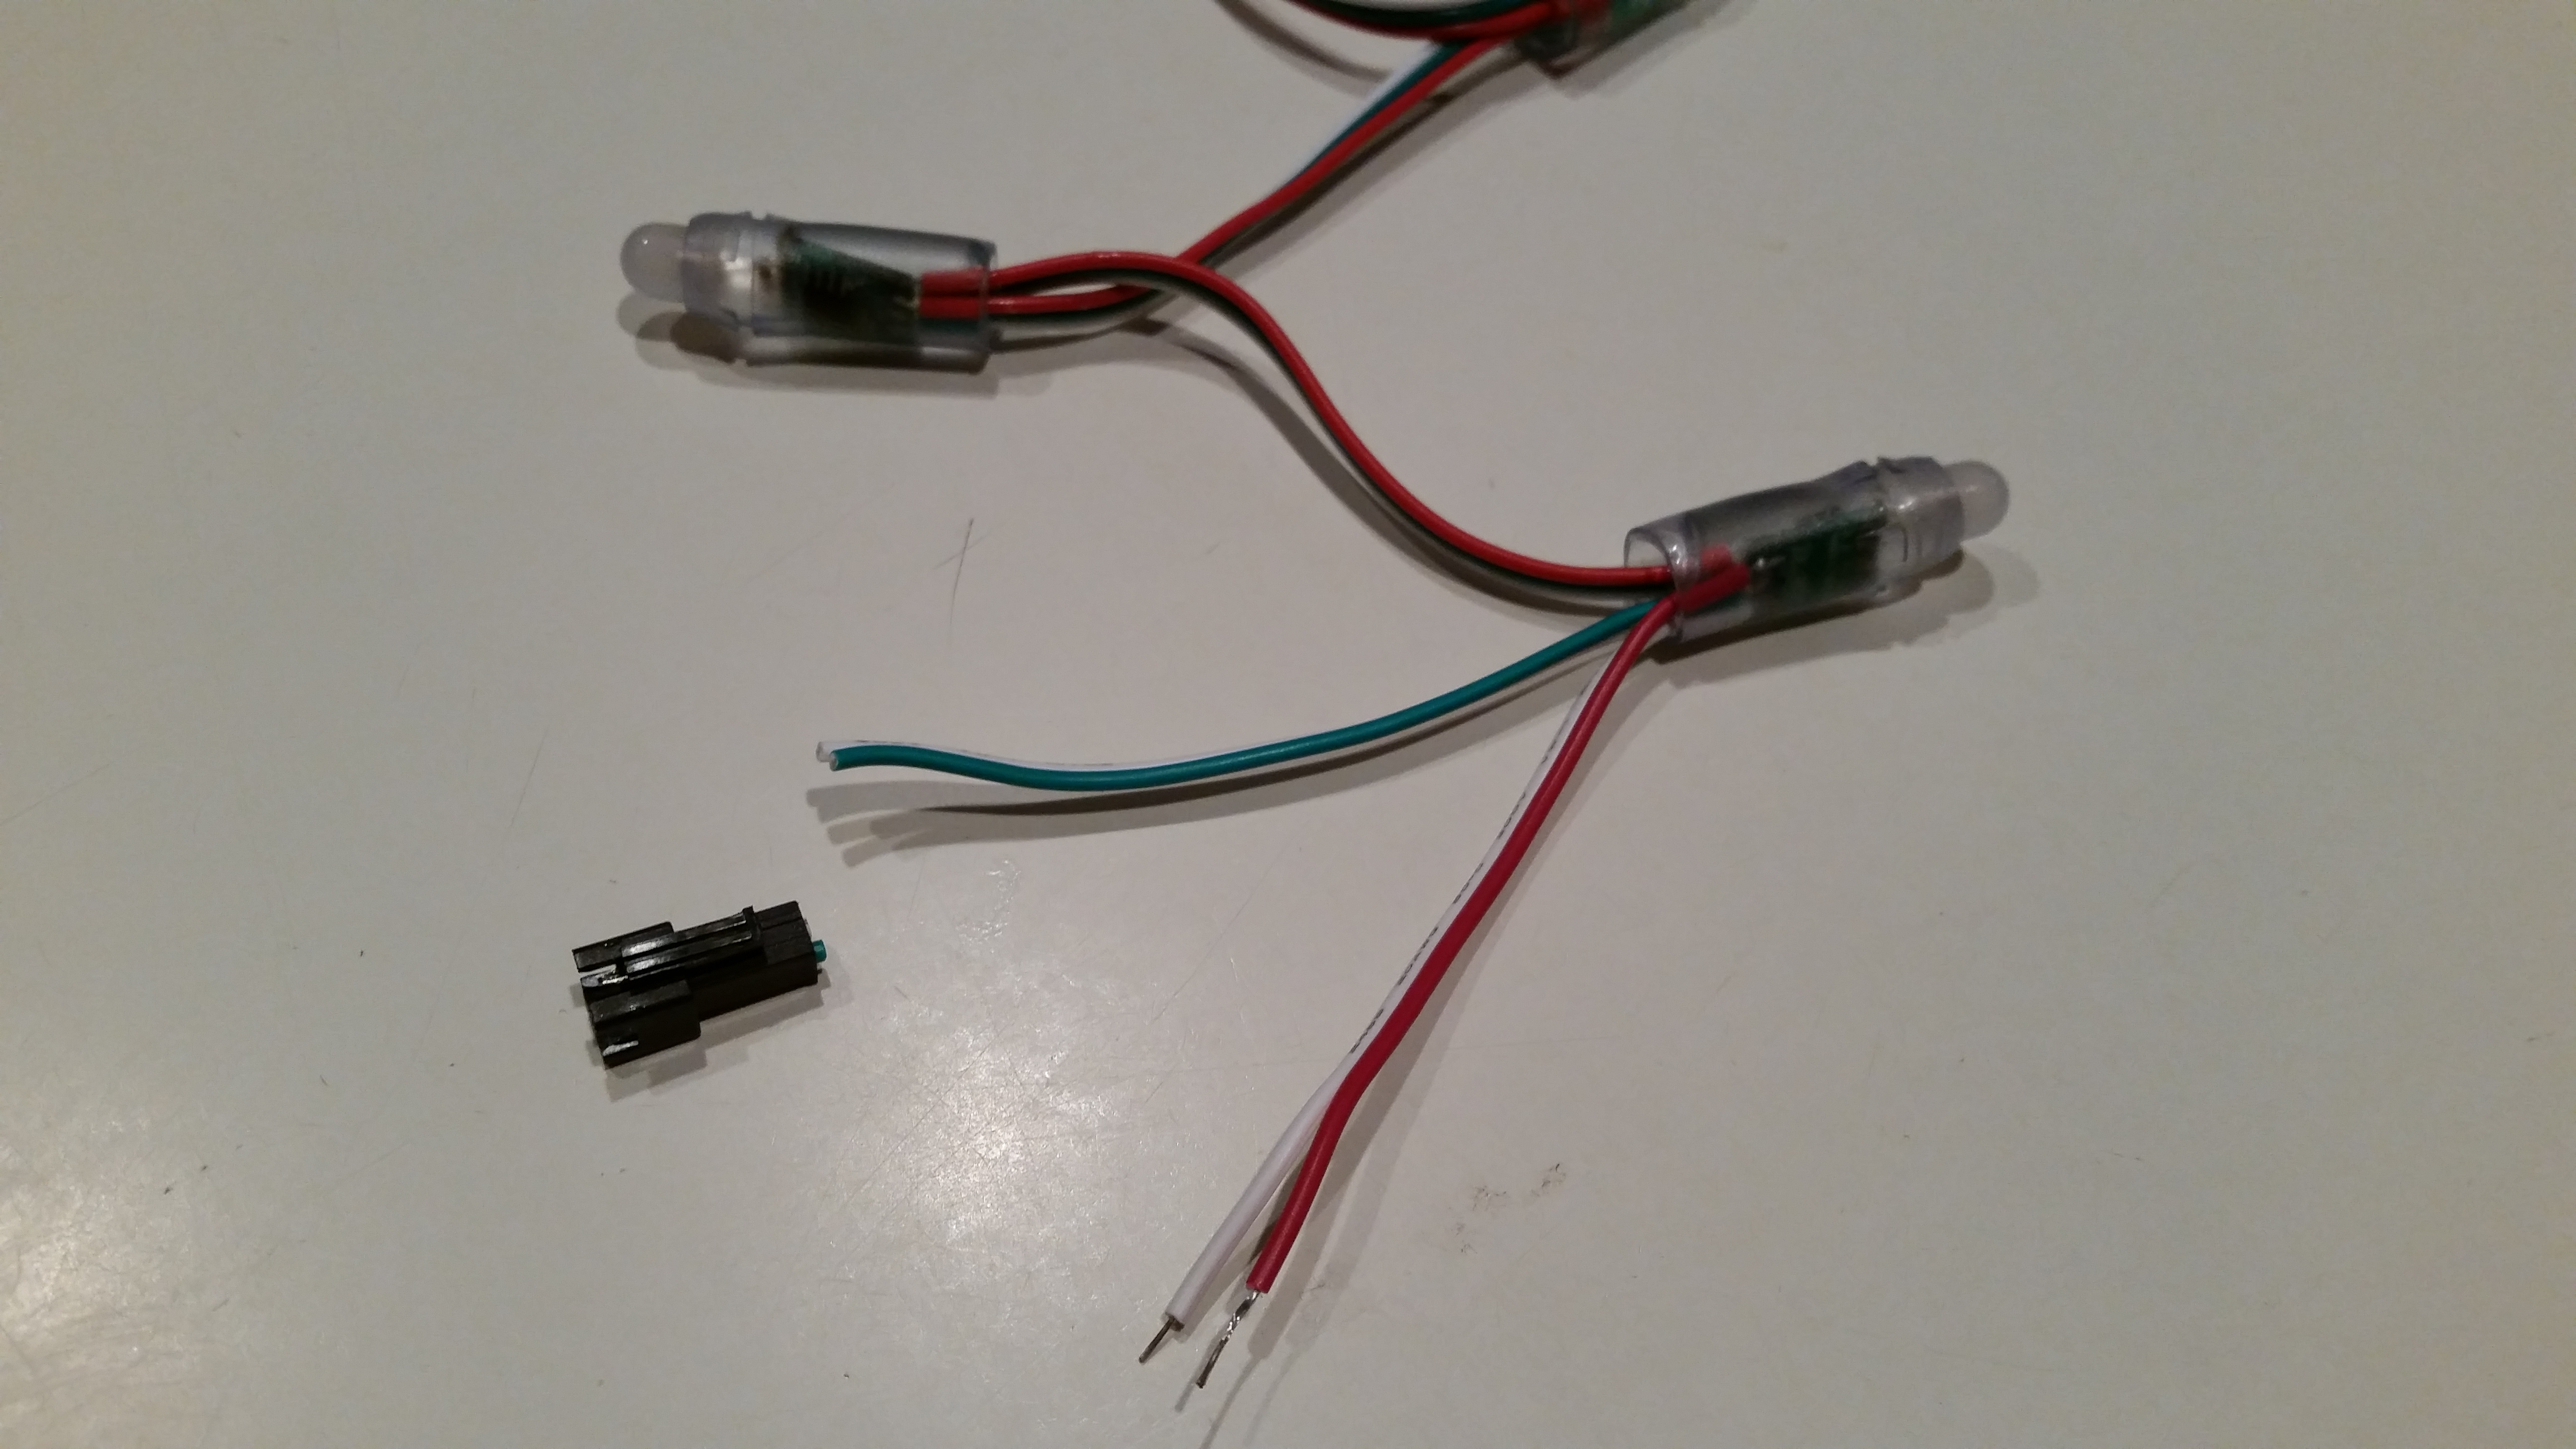
First, carefully stretch out your lights left to right. You'll notice that each end has a connector on it—these connectors allow you to extend the strands. You'll want to remove the male connector so that you can attach the Arduino board. Find it, and carefully snip it off using your wire cutters.

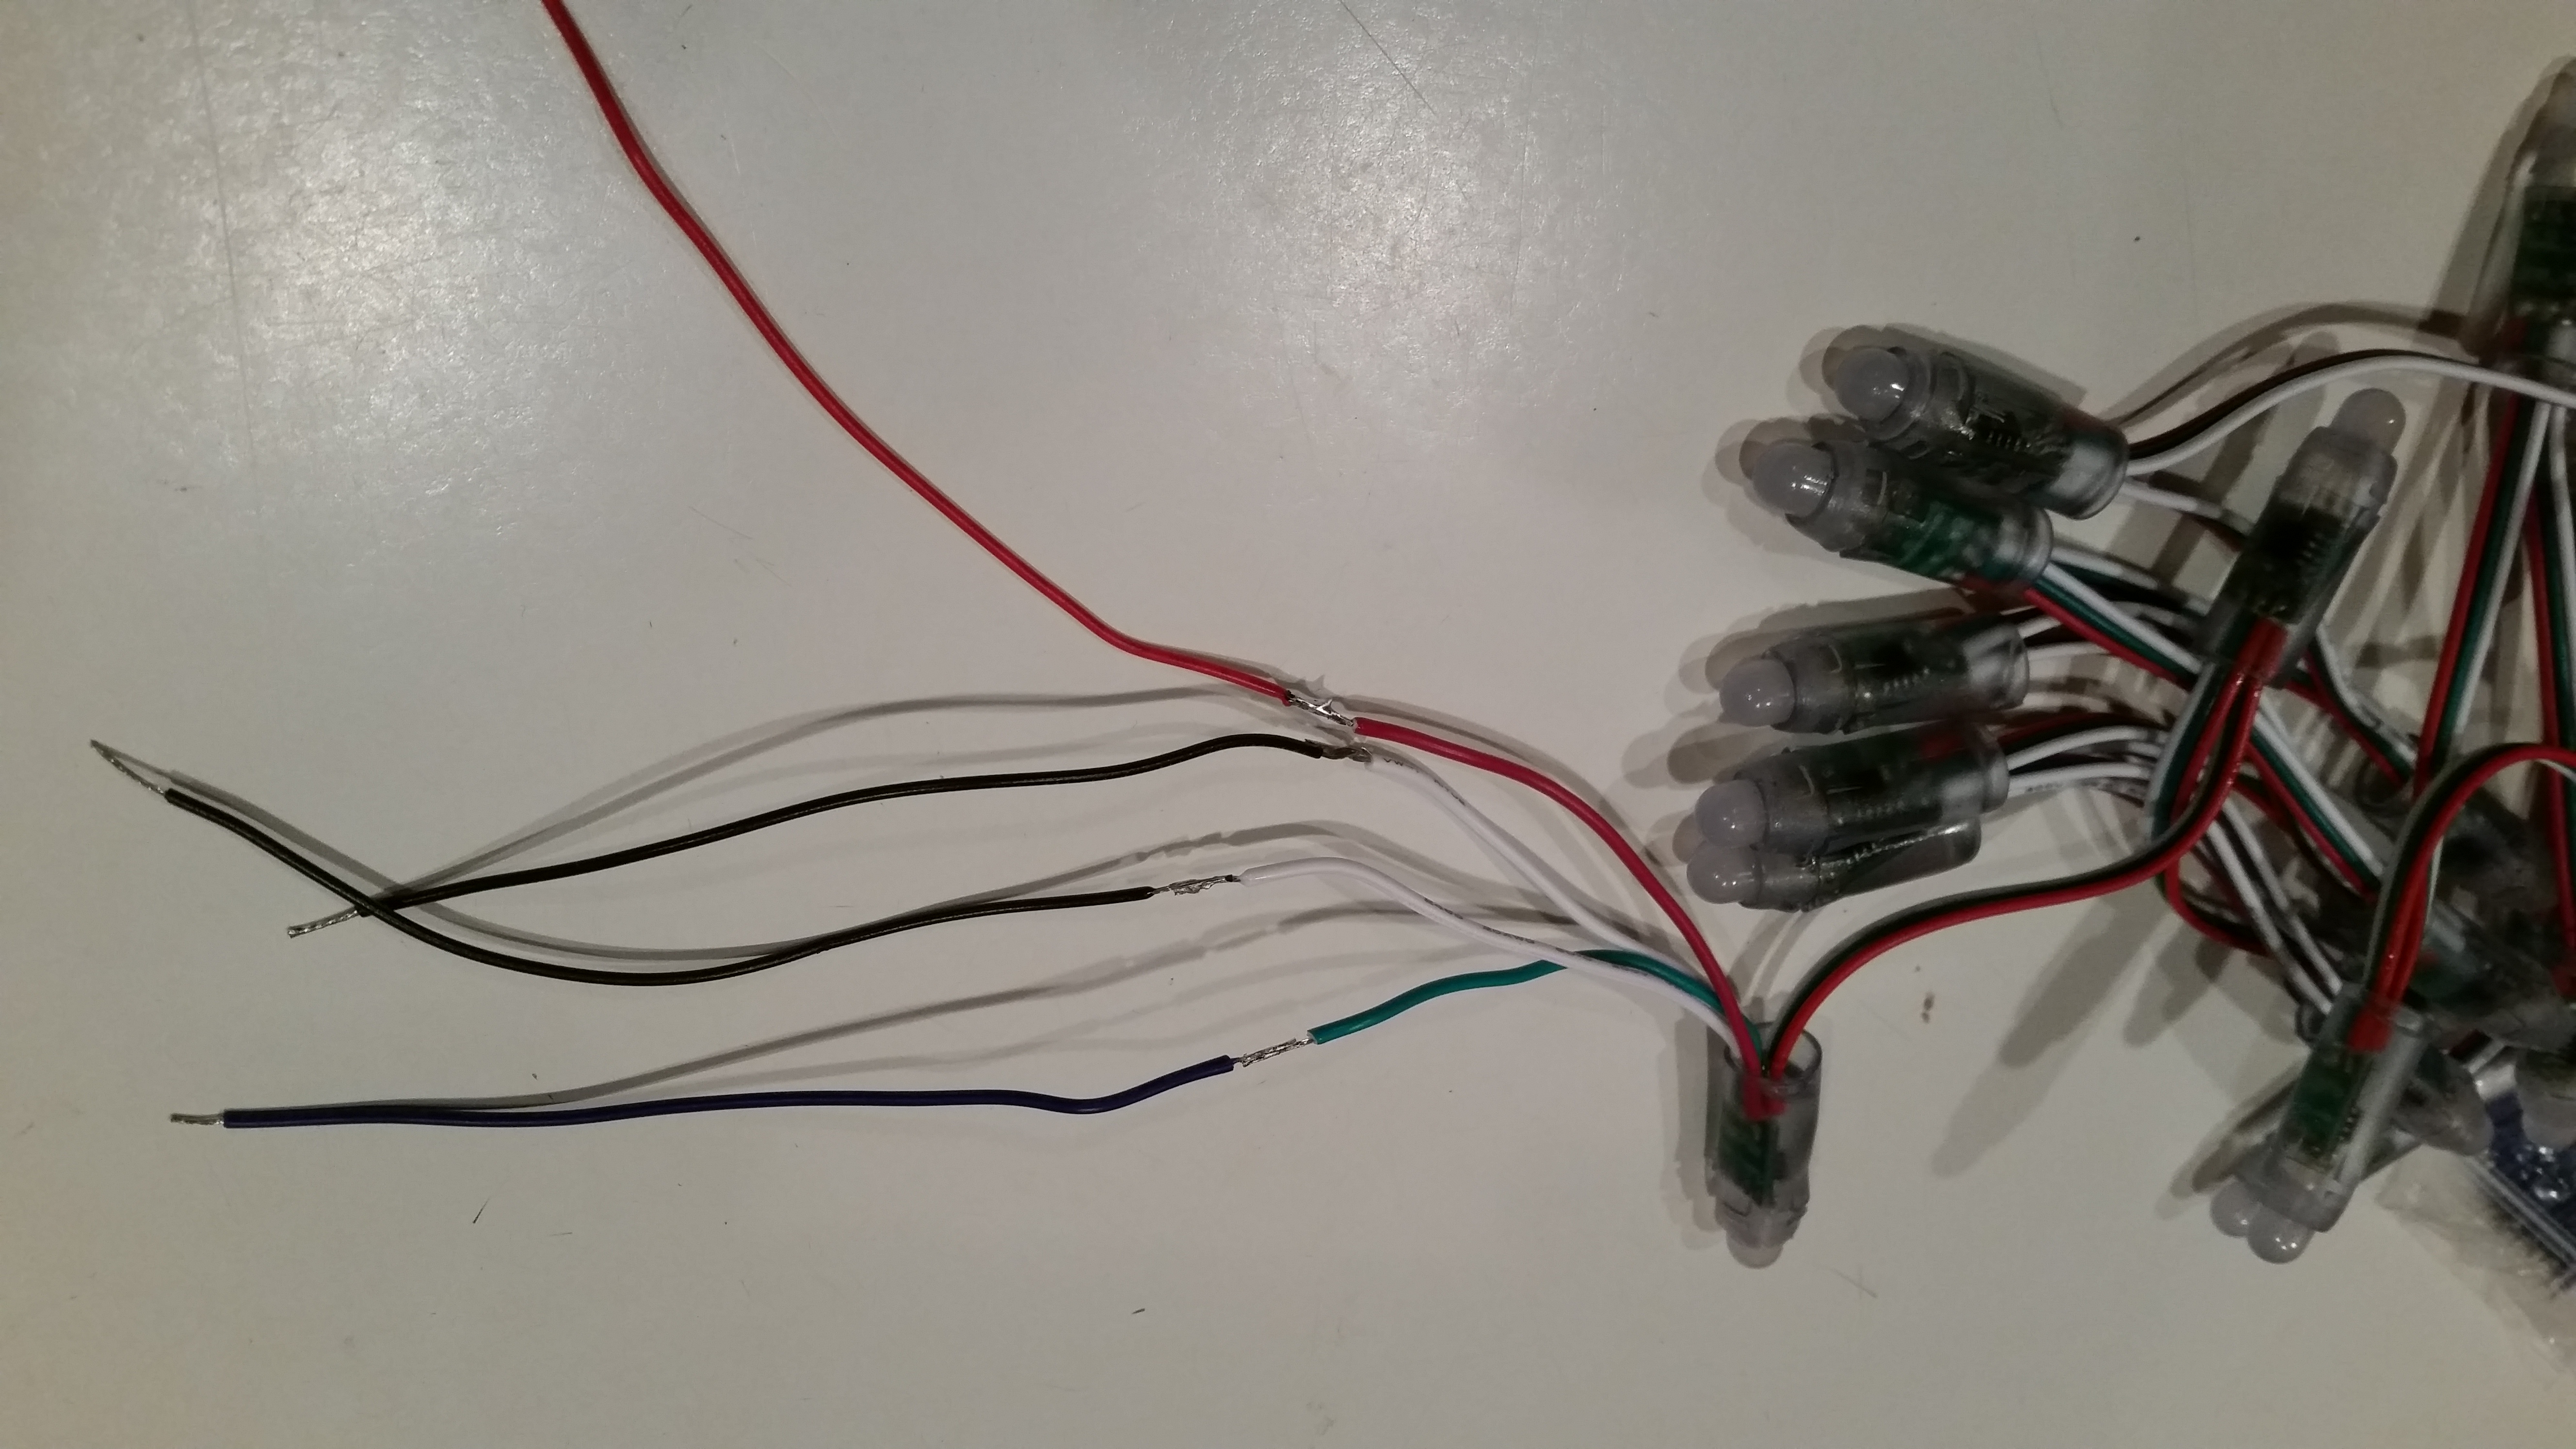
You should now have four independent wires---one white data wire, one red power wire, and two blue ground wires. Note that the colors in these lights do not quite match those in the picture. In the picture, white is ground and green is data.
First, let's extend each of these wires using the jumper wires. This step is not strictly necessary, however, it simplifies connecting the wires to the Arduino board.
Choose one jumper wire from the kit for each of those two wires, and then solder them onto the ends.

Next, protect the soldered connections by either wrapping electrical tape around them or using a heat shrink sleeve.

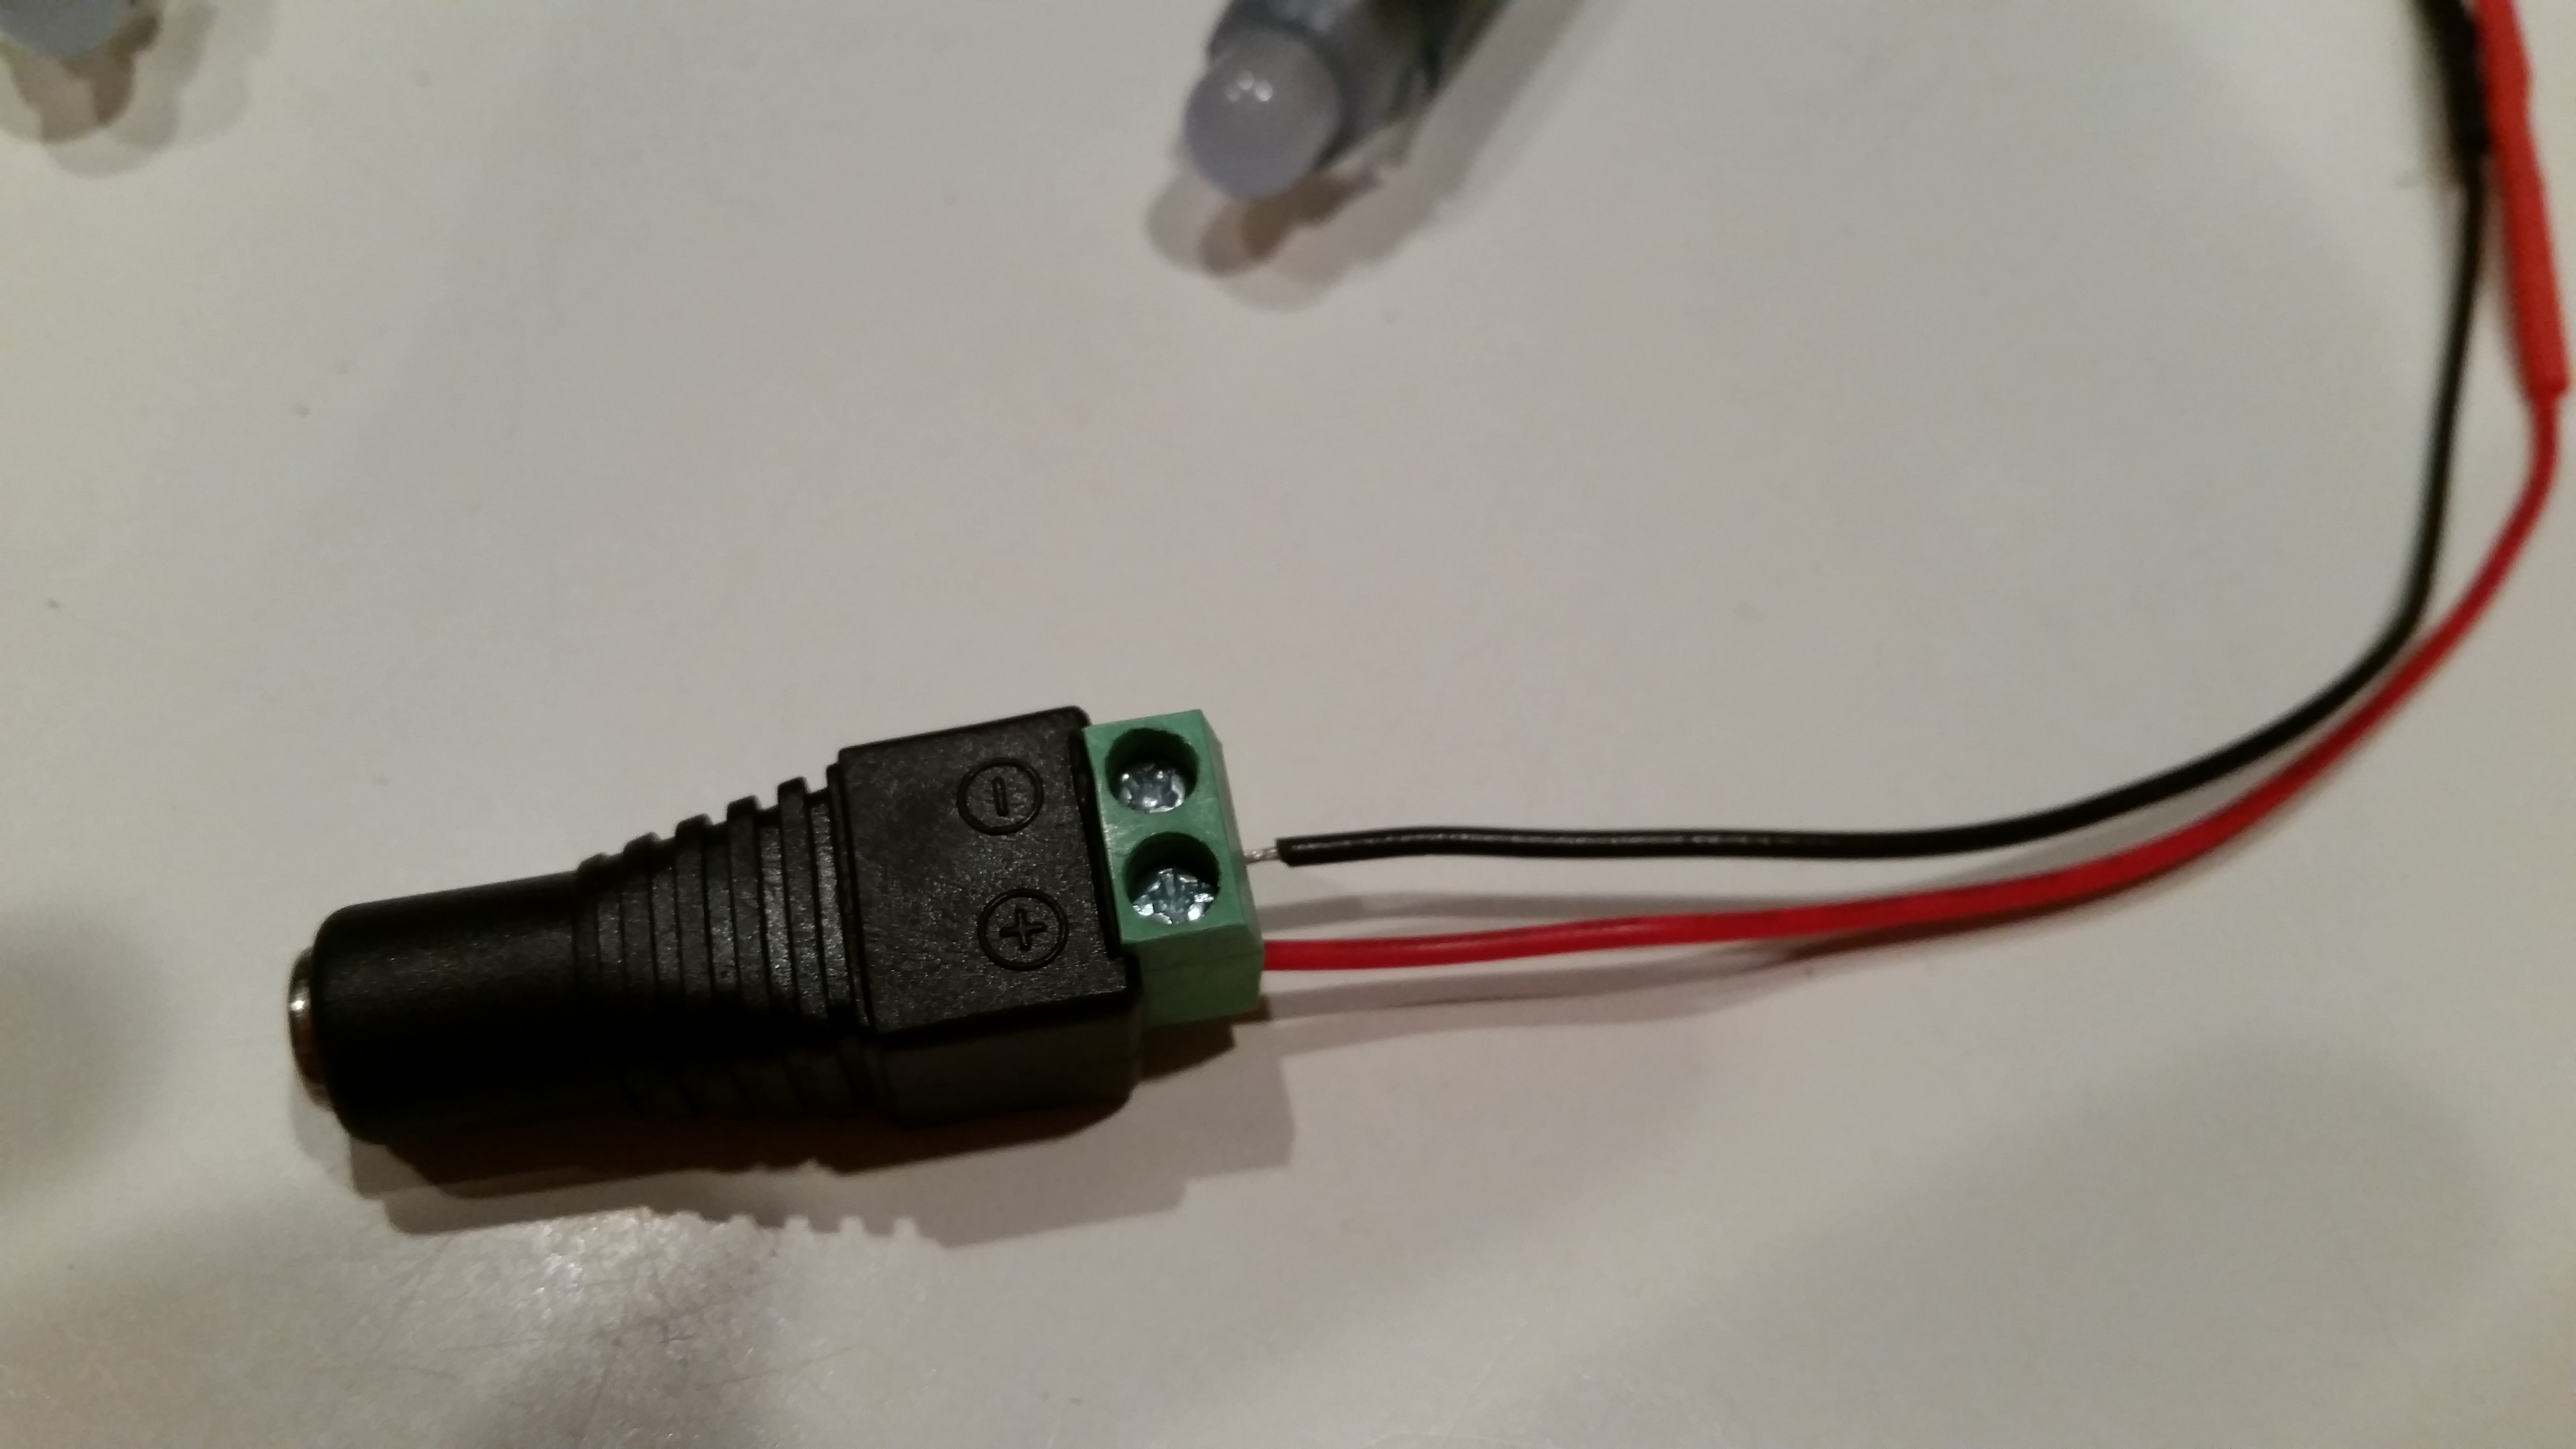
Finally, take one ground (blue) wire and the power wire and connect them to the connector plug by shoving them into the openings (ground in negative, power in positive), and then screwing them in tight.

Congratulations! Your hardware is ready to go. Directions to connect the hardware are on this page, but you should really set up the software (instructions below) first.
Arduino Environment
The last thing you need to do is set up the Arduino environment and drivers on your computer. To do this, go to the Arduino homepage, and follow the Getting Started with Arduino instructions.Also, our framework depends on the FastLED library. We recommend including it through the Include Library feature of the Arduino IDE, but you can also find it on github.
Now you are ready to connect your lights!