In this exercise, we will create a simple tip calculator for a customer to use in a restaurant. The customer can enter the amount of the bill to be paid, and use a slider to select a percentage from 0 to 100 to use. The app will then display the tip to be paid.
Xcode on your Mac, if you haven't already done so. You can find it in the Mac
App Store by clicking on this link:
Xcode in the App Store.
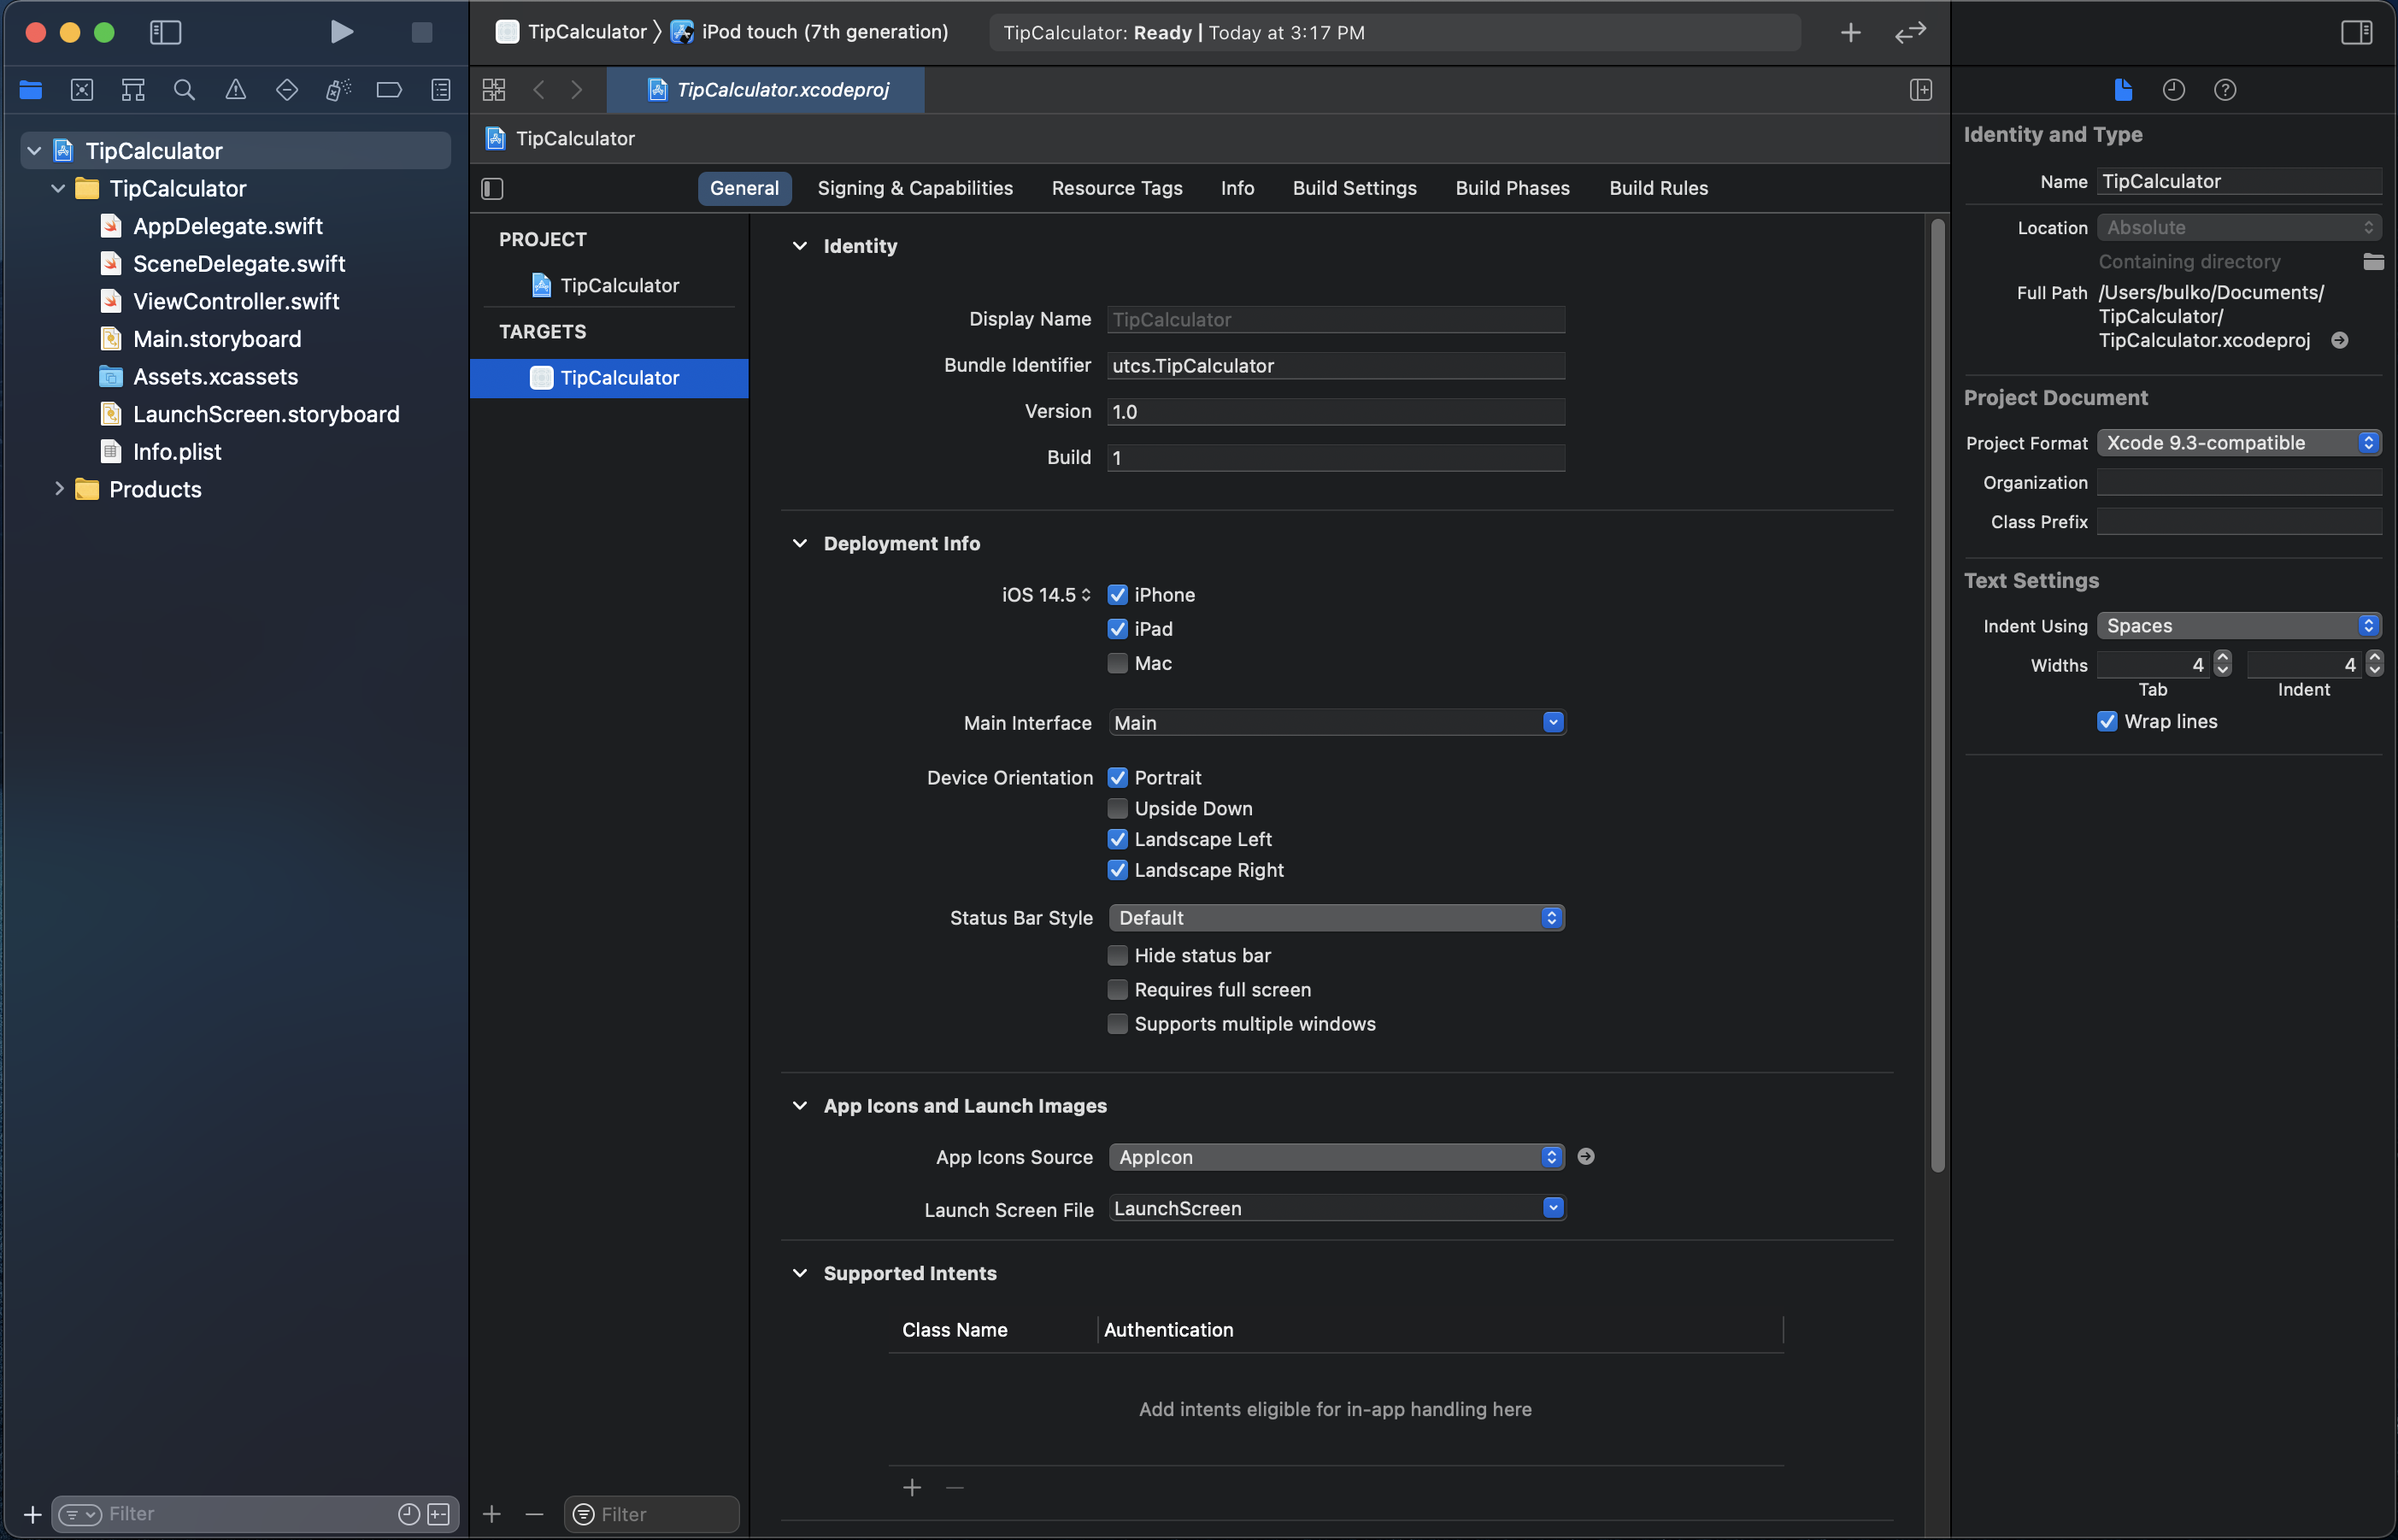
Xcode.Xcode has now created your project! It should look something like this:
We are going to build a user interface that looks like Figure 2.
Main.storyboard.Xcode window,
to the right of where it says "Tip Calculator: Ready". This will cause the Library window to pop
up.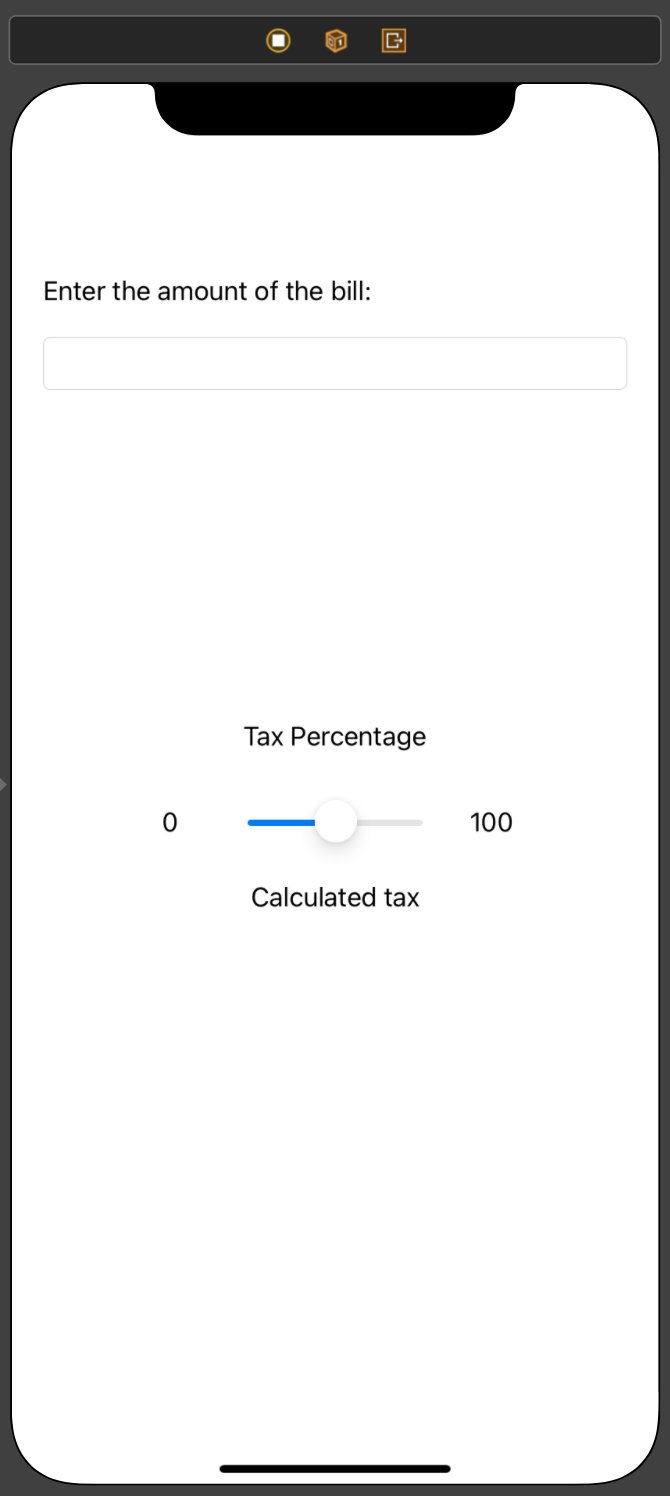
In the next step, we need to connect the user interface objects that we just created to variables in the code, so we can refer to their properties. We do this by creating outlets.
ViewController.swift. If you did this
correctly, you should see both the Storyboard and the code for ViewController.swift
side-by-side in the middle pane of the Xcode window.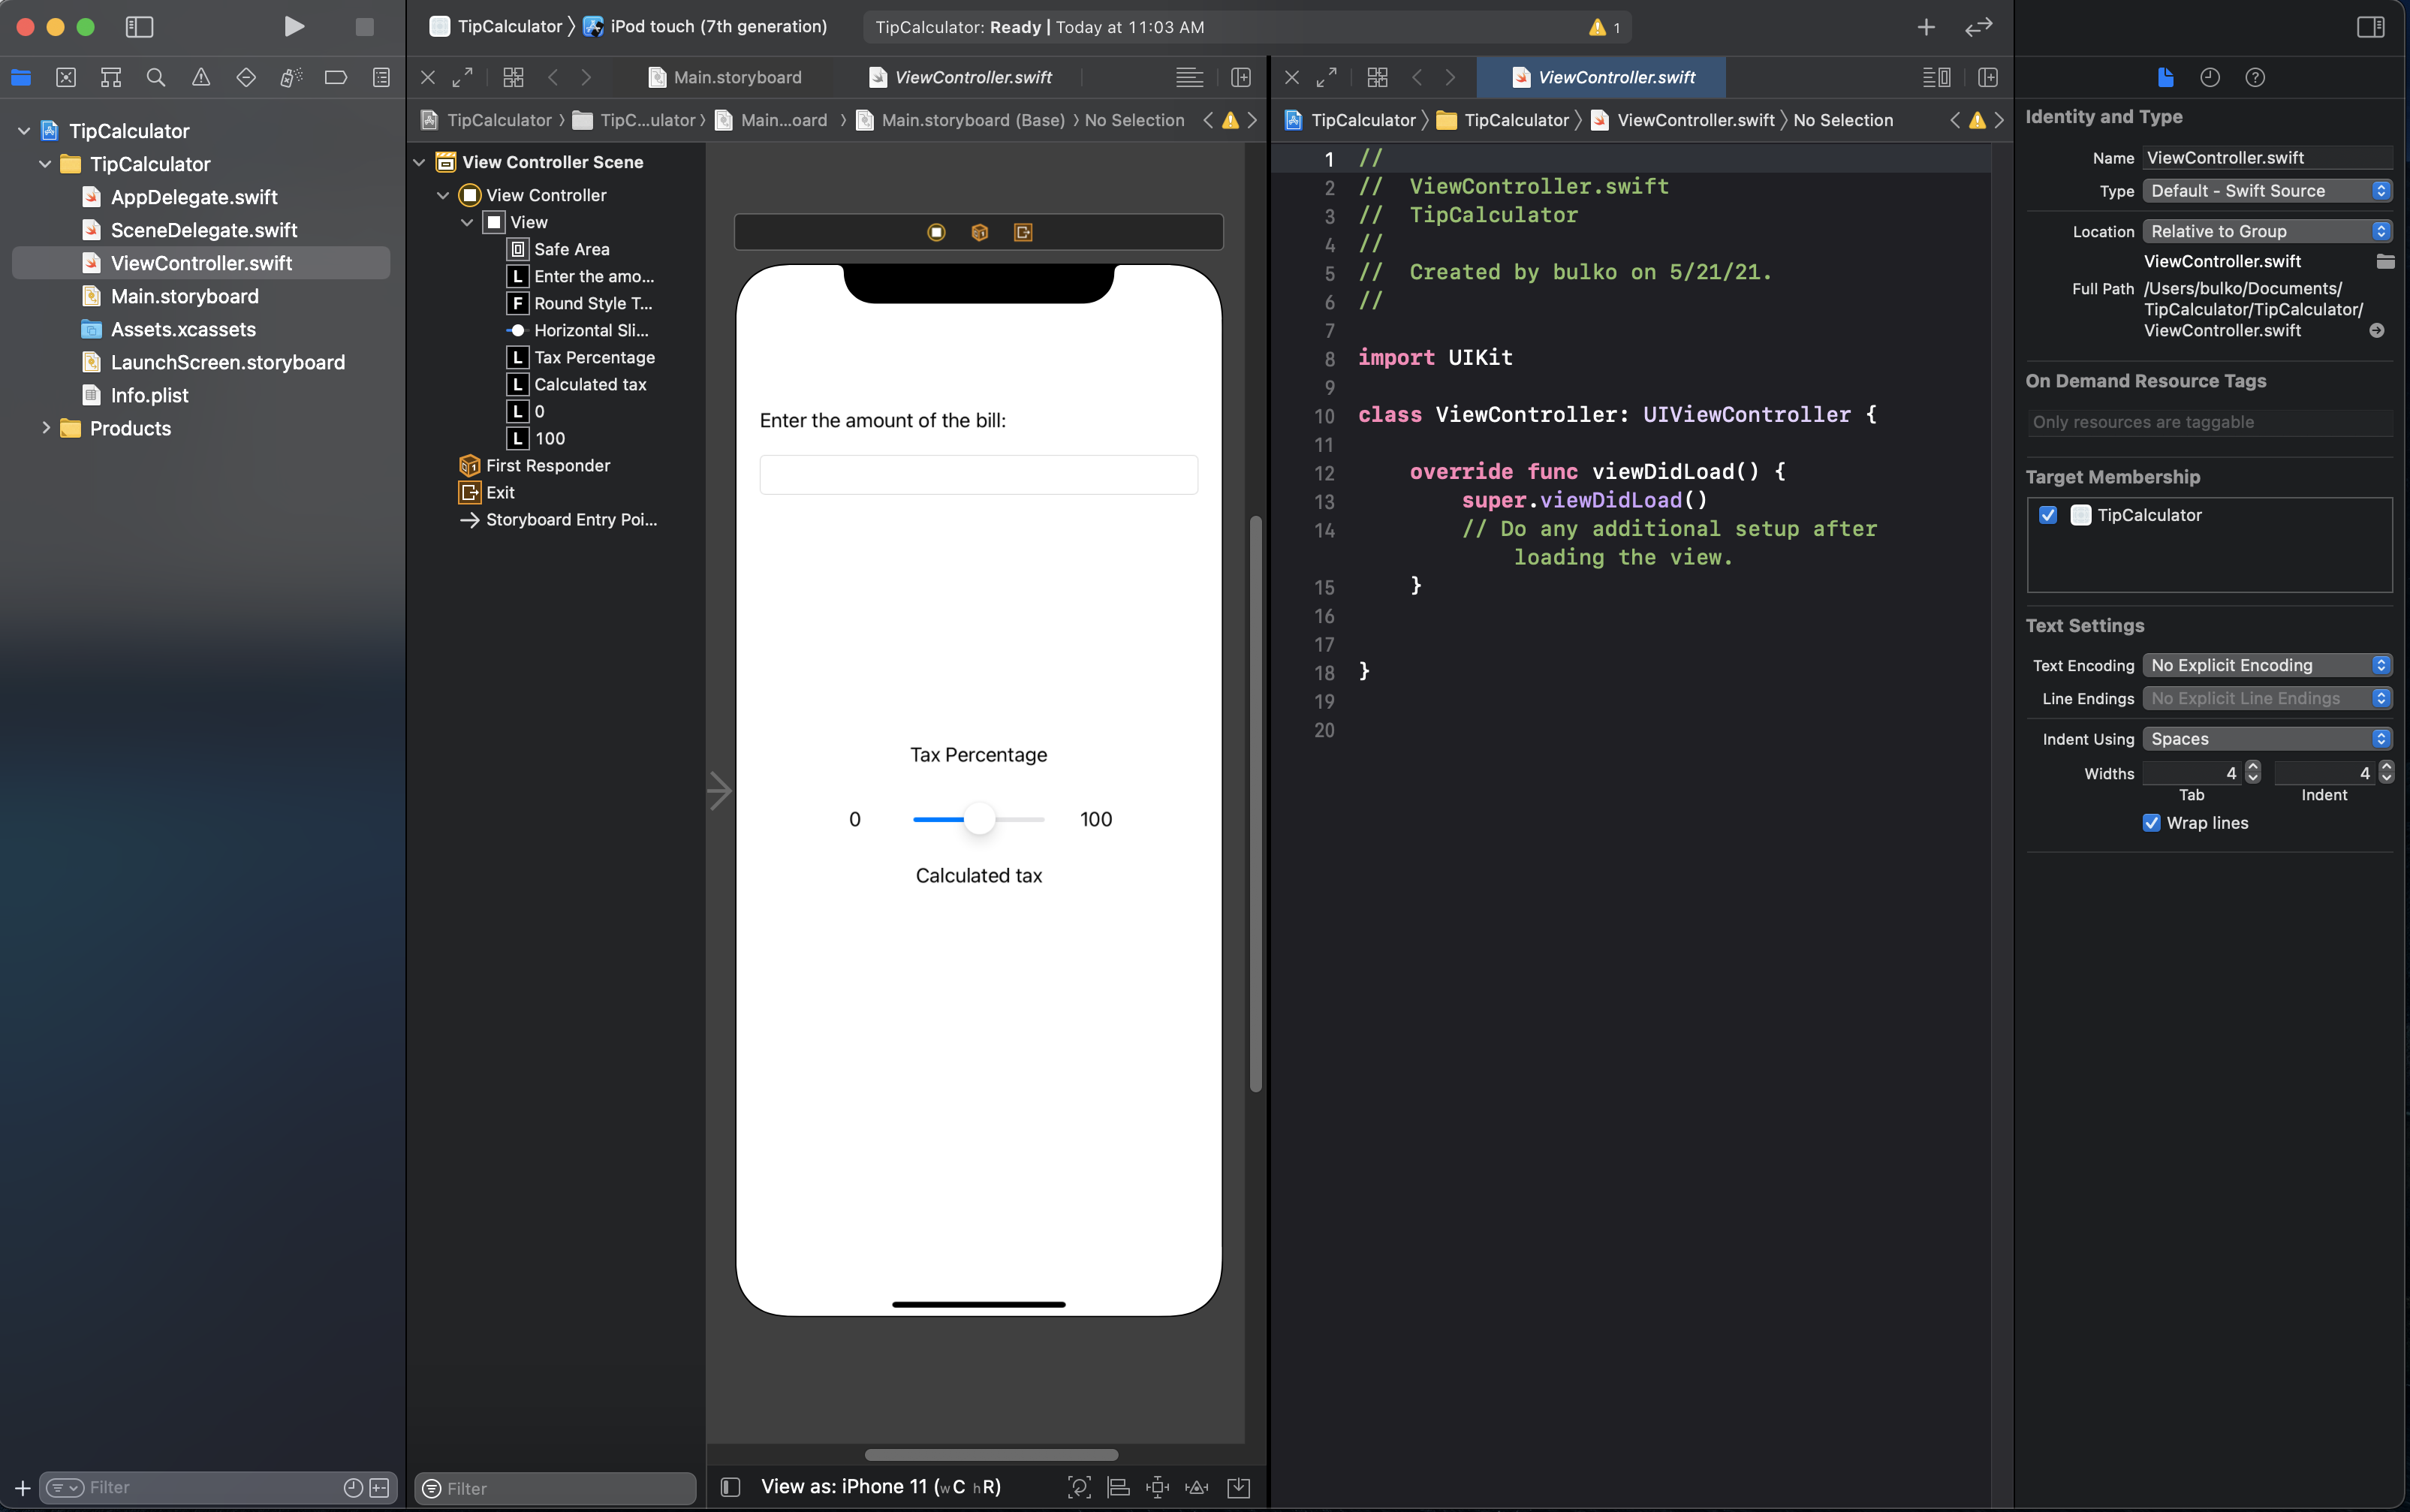
ViewController.swift file that refers to the text field,
select the "Round Style Text Field" object in the object list, hold down on the "ctrl" key, and
control-drag from the "Round Style Text Field" to the code. Place your cursor directly below the
line that reads "class ViewController UIViewController {" and let go of the mouse
button. A small window should pop up that looks like the following: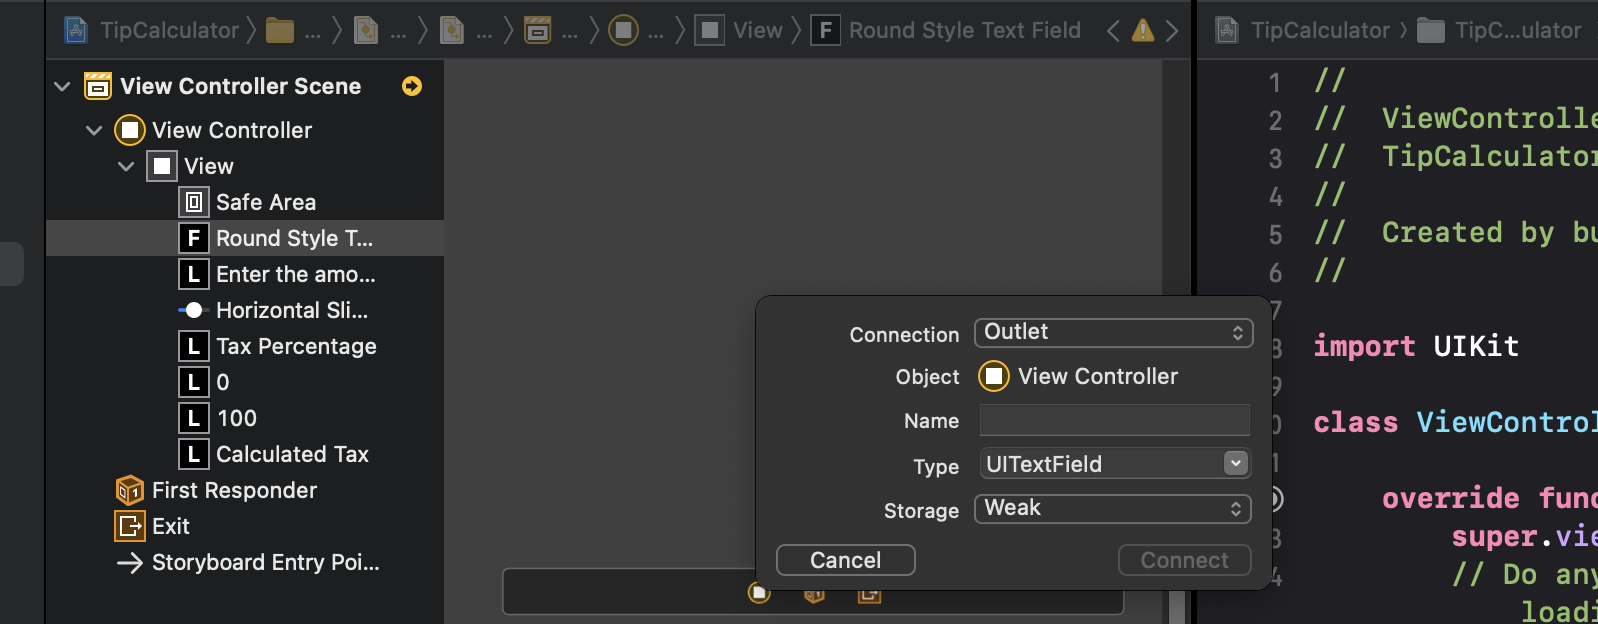
@IBOutlet should appear in the Code Editor where you
clicked earlier.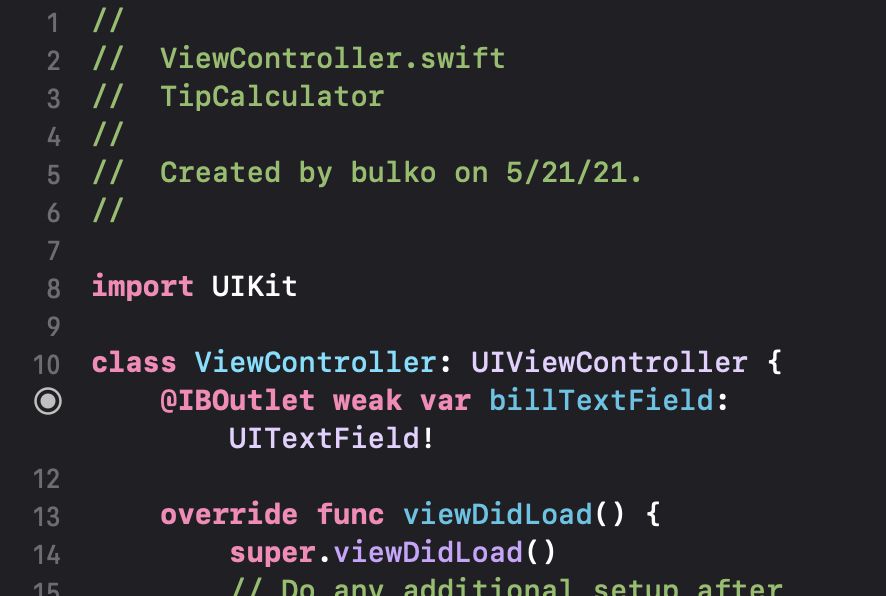
billTextField) is associated with the text field in the
storyboard. You can use this variable in your code to access anything that the user
types into this field in the app. You can also use it to place something in the field from
your code.taxPctSlidertaxPctLabeltaxLabelViewController.swift should look like this: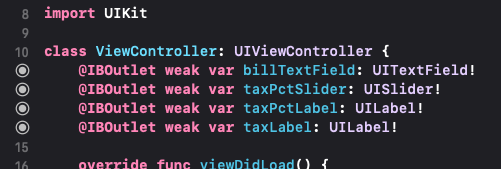
Let's build the app to see what it looks like so far, and see if there are any problems that we need to fix before proceeding.
Familiarize yourself with the top bar of your Xcode window. From left to right, you should
see:
TipCalculator), followed by the
name of the current device that you're building the app for. (The value here depends on what
it was the last time you used Xcode, such as "iPod Touch(7th generation)".)and then several other things, including the "+" icon for the library.

Running
              TipCalcuator on iPhone 12 Pro Max"
and a new window should open up called iPhone 12 Pro
Max. This window is called an emulator window, and it represents a simulated phone
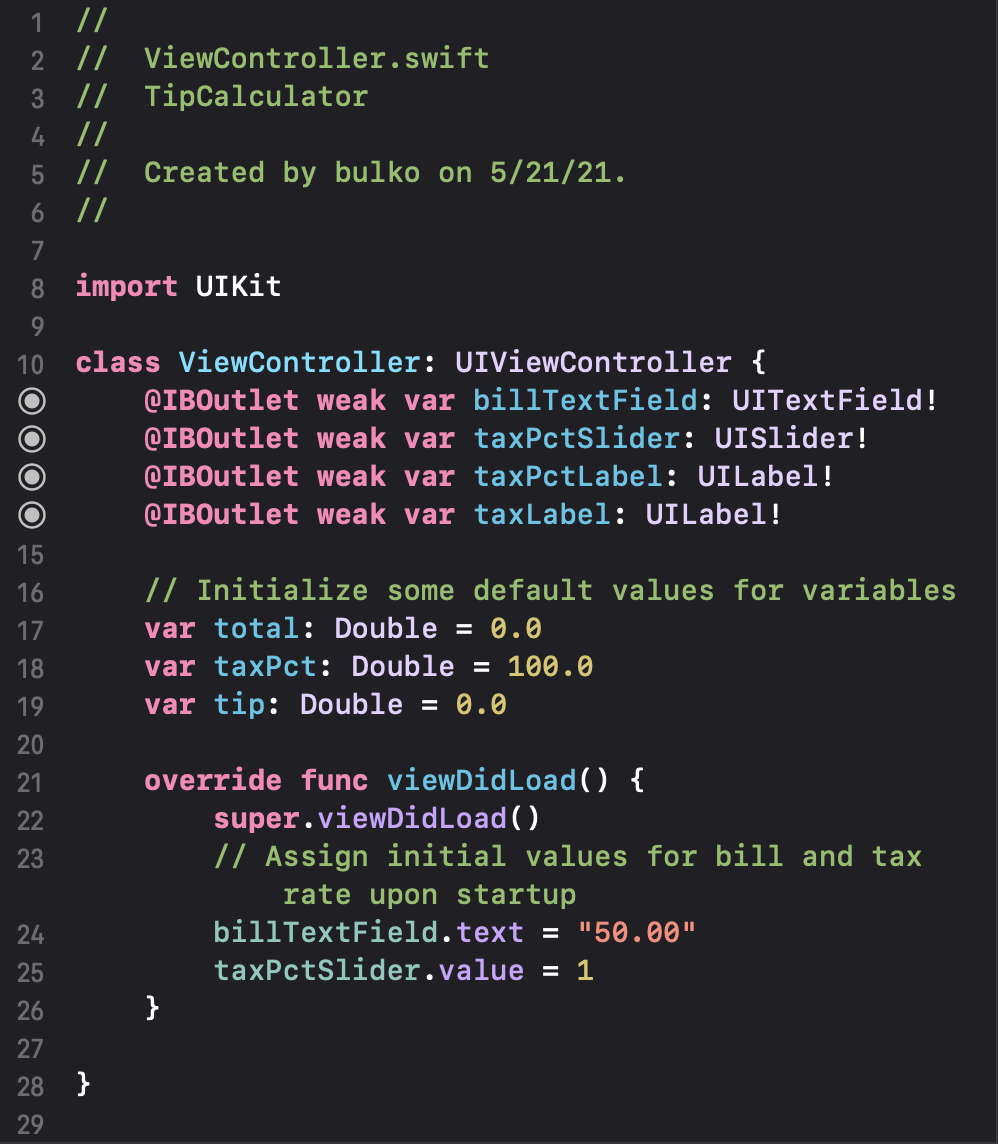
screen running the app you're creating!First, let's create and initialize some variables. When our tip calculator is launched, let's help the user understand how it works by entering an example value of $50.00 for the bill into the text field. We will also set the tax percentage at 15%, and set the tax percentage at 15%Add a blank line directly under the outlets you created (for readability), and then add the following four lines:
    // Initialize some default values for variables
    var total: Double = 0.0
    var taxPct: Double = 100.0
    var tip: Double = 0.0
total. Double means it's a floating-point
number, and we'll set it initially equal to zero. We plan to use this variable to contain the value
of the bill. However, whatever the user types into the text field is a string of characters by default,
not a number, so later we will retrieve that string, convert it into a floating-point number, and save it
in this variable.taxPct. This will be a floating-point number that
specifies what the tax percentage will be. We will initially set it to 100.0 (for 100%), but as the
user moves the slider, we can change this value to anything from 0 to 100.tip. Once we calculate the tip, we will store the
result here, and then display this value in the label called taxLabel. For now, we'll
just set it equal to 0.Next, let's update the user interface slightly. The function viewDidLoad() is automatically
called whenever the view controller (the "screen") is loaded into memory. When our tax calculator app
is loaded, let's put a value of 50.00 into the text field so the user can see an example of what
should be entered. Let's also place the position of the slider to the far right. To do this, we need to
modify the code in viewDidLoad():
    override func viewDidLoad() {
        super.viewDidLoad()
        // Assign initial values for bill and tax rate upon startup
        billTextField.text = "50.00"
        taxPctSlider.value = 1
    }
Here's what that code does:
billTextField.text refers to the "text" property of billTextField, the
variable we created to reference the text field. By setting the "text" property to the string "50.00",
we cause this string to appear in the user interface.txtPctSlider.value refers to the "value" property of taxPctSlider, the
variable we created to reference the slider. This property can have any value from 0 (the far left)
to 1 (the far right). By setting the "value" property to 1, we set the slider to the rightmost
position. Later, as the user drags the slider left or right, we can access this same property to
get a new value for the tax.Our ViewController.swift file should now look something like this:
Finally, we need to make the slider work.
viewDidLoad() and
the closing right brace of the class. When you do this, you will get the same popup you got
before - except that in the blank labeled "Connection", it should say "Action".@IBOutlet, it should begin with @IBAction. Notice that this connection
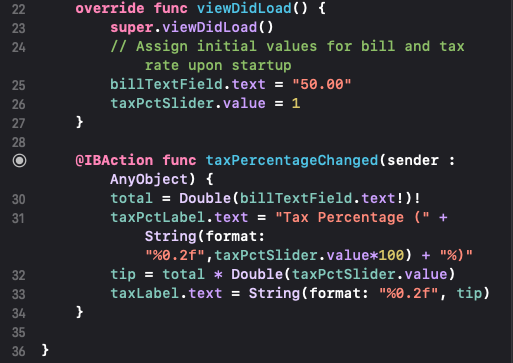
is a function (func) definition, not a variable (var). Insert the following code between the curly braces "{" and "}".
      total = Double(billTextField.text!)!
      taxPctLabel.text = "Tax Percentage (" + String(format: "%0.2f",taxPctSlider.value*100) + "%)"
      tip = total * Double(taxPctSlider.value)
      taxLabel.text = String(format: "%0.2f", tip)
Here's what that code does:
billTextField.text.
We then convert that string into a floating-point number using "Double" and save the result into
total.txtPctSlider.value, a value between 0 and 1,
multiply it by 100 to get a number between 0 and 100 accurate to two decimal places, and convert it
into a string. We use that string to create a longer string that looks like "Tax Percentage (xxx.xx%)"
for display.taxLabel.
The bottom of your file should look something like this:
Build the app again by clicking the "Stop" button, followed by the "Play button", and confirm that the
app works! The function taxPercentageChanged gets called automatically any time the user
moves the slider, so this causes the values in the tax percentage label and the tax label to be constantly updated. If you move the slider back and forth, you should see the numbers above and below the slider
changing.
Confirm that the numbers you get make sense for a bill of $50.00. Then try clicking on the text field and changing the bill to some other number, and confirm that the numbers still make sense when you move the slider around.
Figure out how to modify the code to change your app's behavior.
taxLabel, it looks "off" because it's not
properly centered under the slider. Click on the Tax Label object in the object tree (or click on
the label in the storyboard - both work). The far right pane of the Xcode window is
the Inspector pane. If you poke around over there, you can find a field called
Alignment where you can set the alignment of the label to be centered.