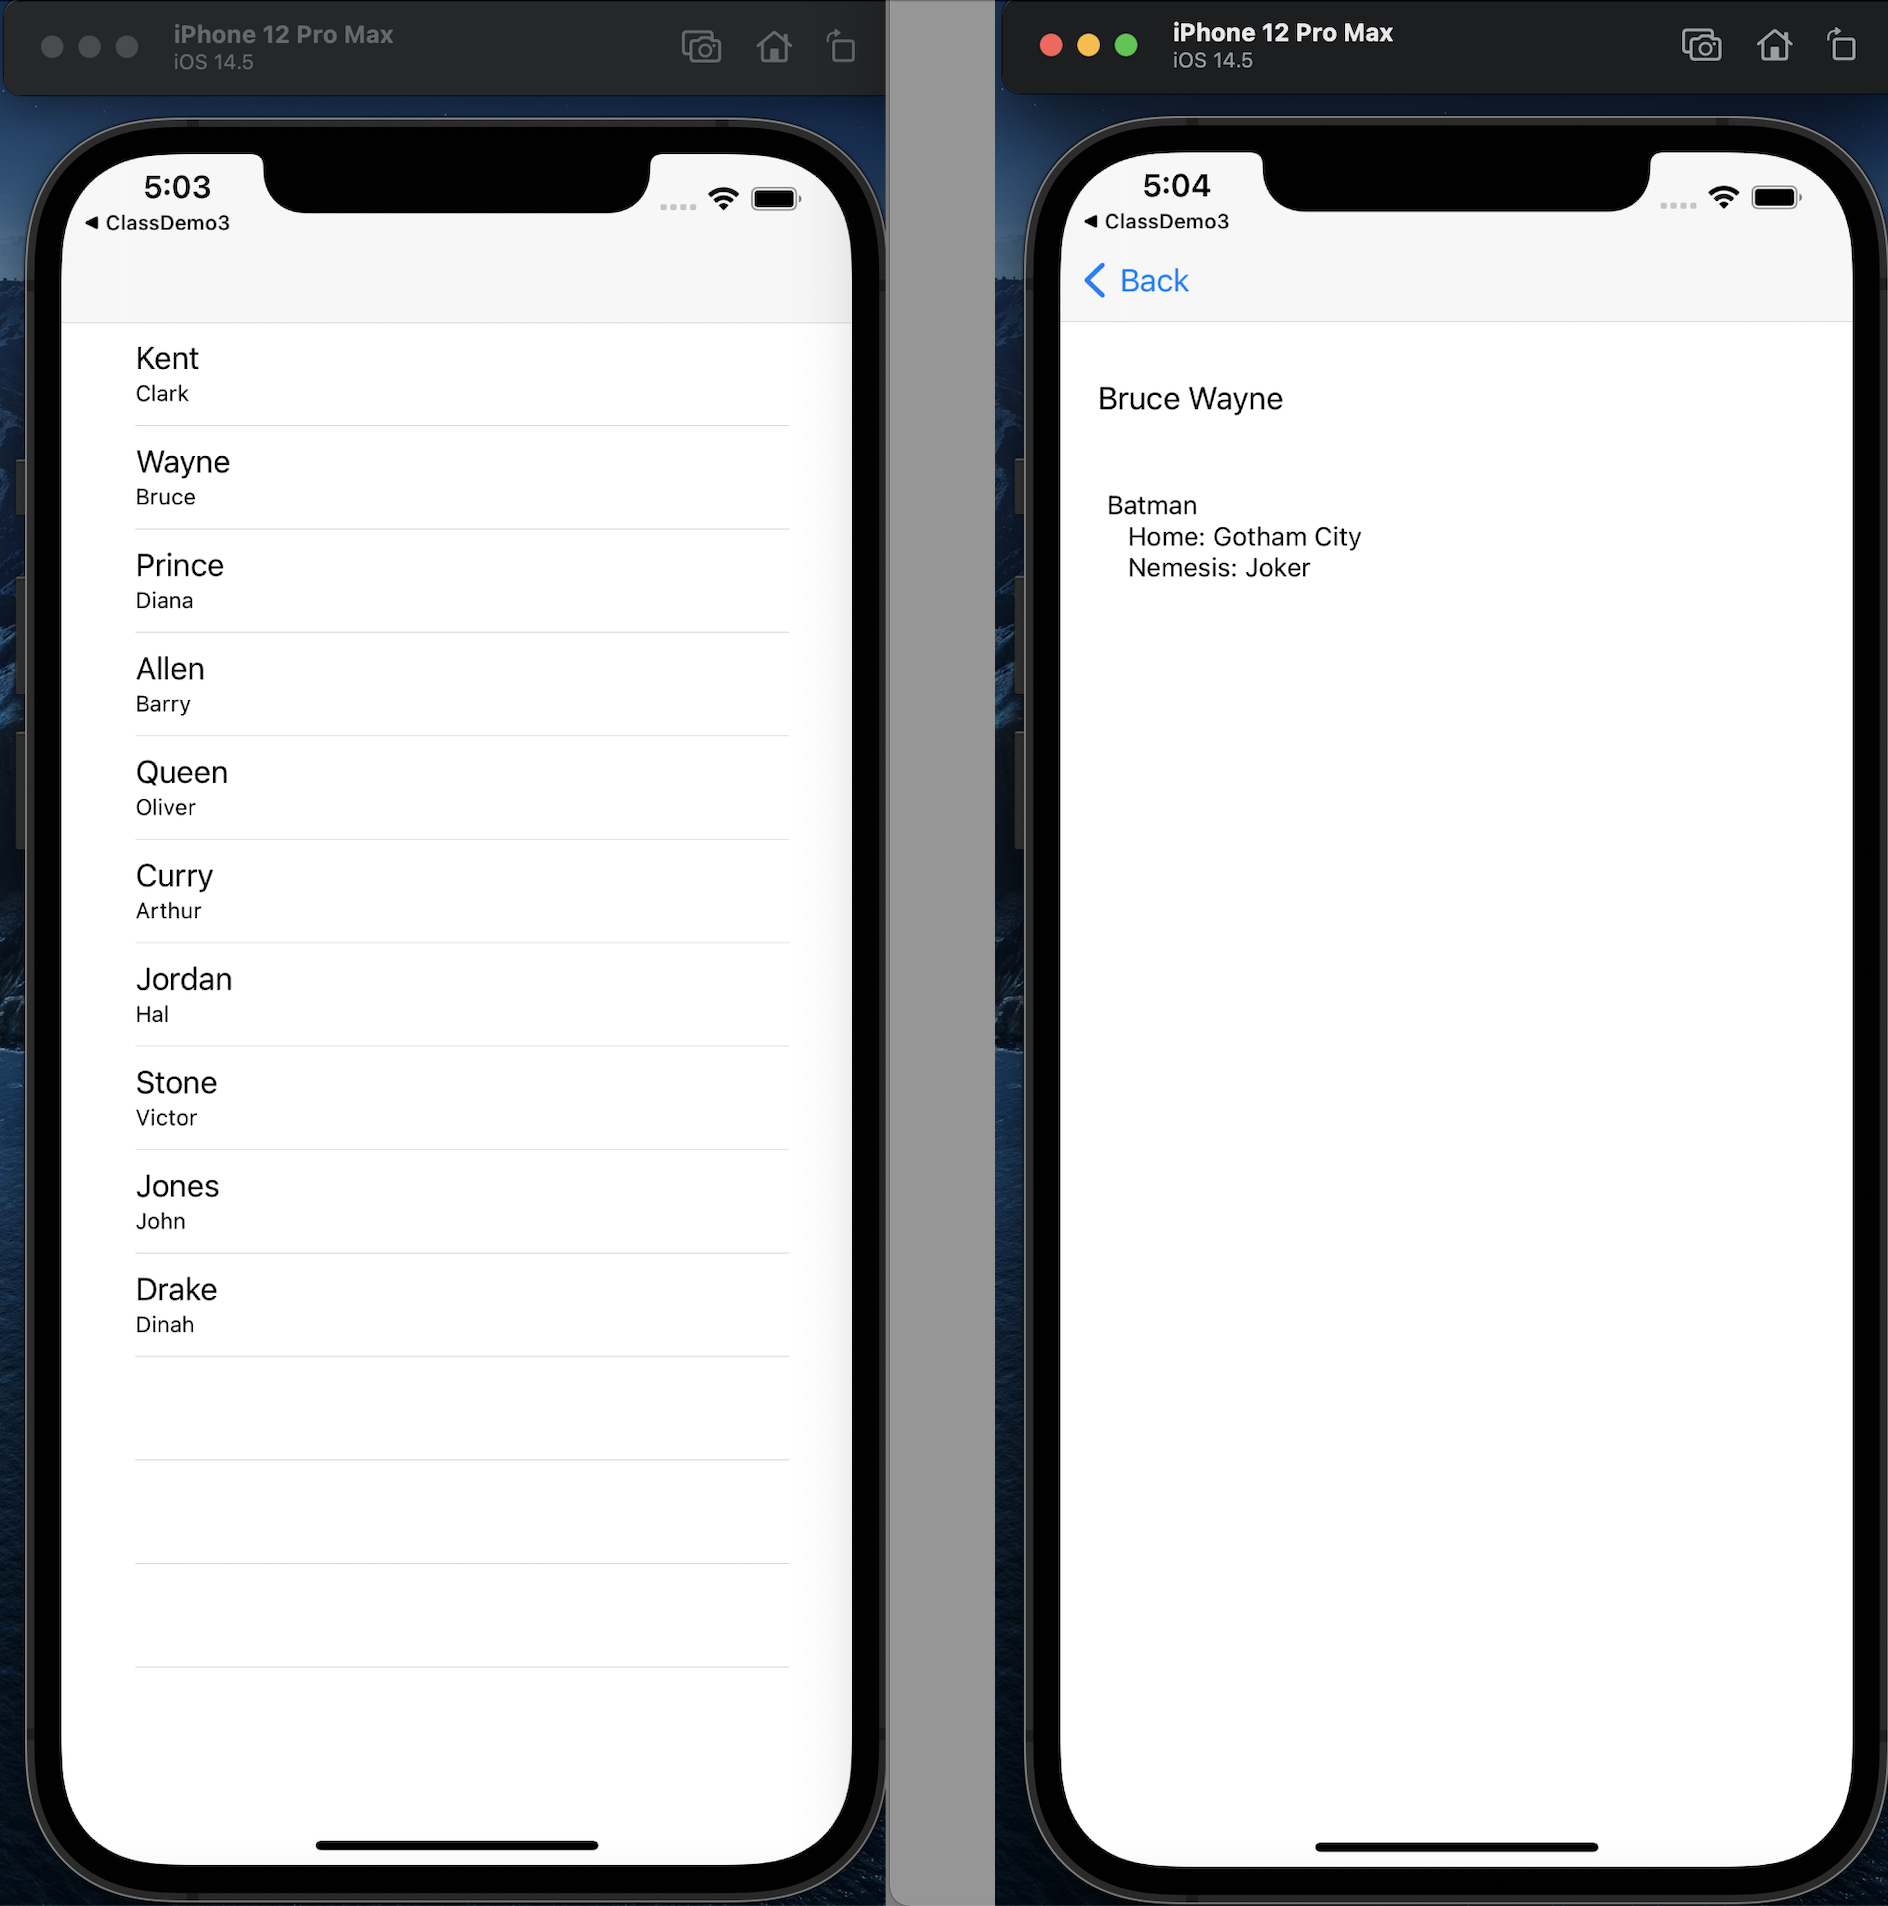
In this exercise, the home screen of our app will consist of a list of ten friends. When you select one of them from the table, we will segue to a second screen where we can see information about the selected friend.
The user interface of your project should look like the following. (The image of the second screen shows what it would look like if the user had selected Bruce Wayne on the first screen.)
The two screens in the user interface should look like Figure 1.
Prototype Cells equal to 1.Identifier to TextCell, and change
the Style to “Subtitle”.tableView to the ViewController class.“, UITableViewDataSource, UITableViewDelegate” to the ViewController class after
UIViewController. (Don't forget the comma at the beginning!) An error will show, indicating
we haven’t met the requirements for the UITableViewDataSource yet. Ignore it for now.lastNames,
firstNames, and friendData at the top of the file, between the
"import UIKit" statement and the class definition for ViewController. These arrays
will contain the names of your friends, along with some personal information about each one.
Here's an example:
public let lastNames = [
    "Kent", "Wayne", "Prince", "Allen", "Queen",
    "Curry", "Jordan", "Stone", "Jones", "Drake"
]

public let firstNames = [
    "Clark", "Bruce", "Diana", "Barry", "Oliver",
    "Arthur", "Hal", "Victor", "John", "Dinah"
]

public let friendData = [
    "Superman \n   Home: Metropolis \n   Nemesis: Lex Luthor",
    "Batman \n   Home: Gotham City \n   Nemesis: Joker",
    "Wonder Woman \n   Home: Themyscira \n   Nemesis: Cheetah",
    "Flash \n   Home: Central City \n   Nemesis: Professor Zoom",
    "Green Arrow \n   Home: Star City \n   Nemesis: Merlyn",
    "Aquaman \n   Home: Atlantis \n   Nemesis: Black Manta",
    "Green Lantern \n   Home: Coast City \n   Nemesis: Sinestro",
    "Cyborg \n   Home: Detroit \n   Nemesis: Slade",
    "Martian Manhunter \n   Home: Mars \n   Nemesis: Darkseid",
    "Black Canary \n   Home: Gotham City \n   Nemesis: Vertigo"
]
where "\n" is used to insert a line break. You should use your own friends and data for the
exercise.ViewDidLoad to identify the delegate and the data source:
    tableView.delegate = self
    tableView.dataSource = self
ViewController class right after the
ViewDidLoad function:
    func tableView(_ tableView: UITableView, numberOfRowsInSection
                         section: Int) -> Int {
        return lastNames.count
    }

    func tableView(_ tableView: UITableView, cellForRowAt indexPath: IndexPath) -> UITableViewCell {
        let cell = tableView.dequeueReusableCell(withIdentifier: "TextCell", for: indexPath as IndexPath)
        let row = indexPath.row
        cell.textLabel?.text = lastNames[row]
        cell.detailTextLabel?.text = firstNames[row]

        return cell
    }

    func tableView(_ tableView: UITableView, didSelectRowAt indexPath: IndexPath) {
        let row = indexPath.row
        print(lastNames[row])
    }
Now the error you saw earlier should be gone since we’ve implemented everything we need for the
data source.Run the simulator now to see if you get any errors. If you did everything correctly, you should see a screen that looks like the left screen in Figure 1.
“FriendSegueIdentifier”.File -> New -> File. On the iOS
source tab, choose "Cocoa Touch Class". In the popup that appears, make it a subclass of
UIViewController and name it “FriendViewController”.FriendViewController.nameLabel and
textView.Accessory value to
"Disclosure Indicator". (This will add a ">" symbol to the right side of each of the
table rows as a visual hint to the user that clicking the row will take you to another screen.)FriendViewController class right after the outlets:
    var lastName:String = ""
    var firstName:String = ""
FriendViewController class right after the
ViewDidLoad function:
    override func viewWillAppear(_ animated: Bool) {
        nameLabel.text = firstName + " " + lastName
        let nameIndex = lastNames.firstIndex(of: lastName)
        textView.text = friendData[nameIndex!]
    }
    override func prepare(for segue: UIStoryboardSegue, sender: Any?) {
        if segue.identifier == "FriendSegueIdentifier",
           let destination = segue.destination as? FriendViewController,
           let nameIndex = tableView.indexPathForSelectedRow?.row
        {
            destination.lastName = lastNames[nameIndex]
            destination.firstName = firstNames[nameIndex]
        }
    }
Run the simulator now to see if you get any errors. If you did everything correctly, you should be able to select one of your friends' names and get to the Friend VC. However, there's no way to get back to the main VC yet. We need to add a Navigation Controller.
In the storyboard, select the main VC. Then go to the Xcode menu at the top of the screen
and select Editor -> Embed In… -> Navigation Controller. Build and run. This
time, there should be a "Back" button on the second VC that enables you to get back to the
first one and choose another friend's name.
Style to
"Left Detail" and rebuilding the project. What happened? Try "Right Detail".ViewController right after
the definition of viewDidLoad.
    func tableView(_ tableView:UITableView,willSelectRowAt indexPath:IndexPath) -> IndexPath? {
        return indexPath.row == 4 ? nil : indexPath
    }