Academy for iOS App Development

Exercise 3:
Animation

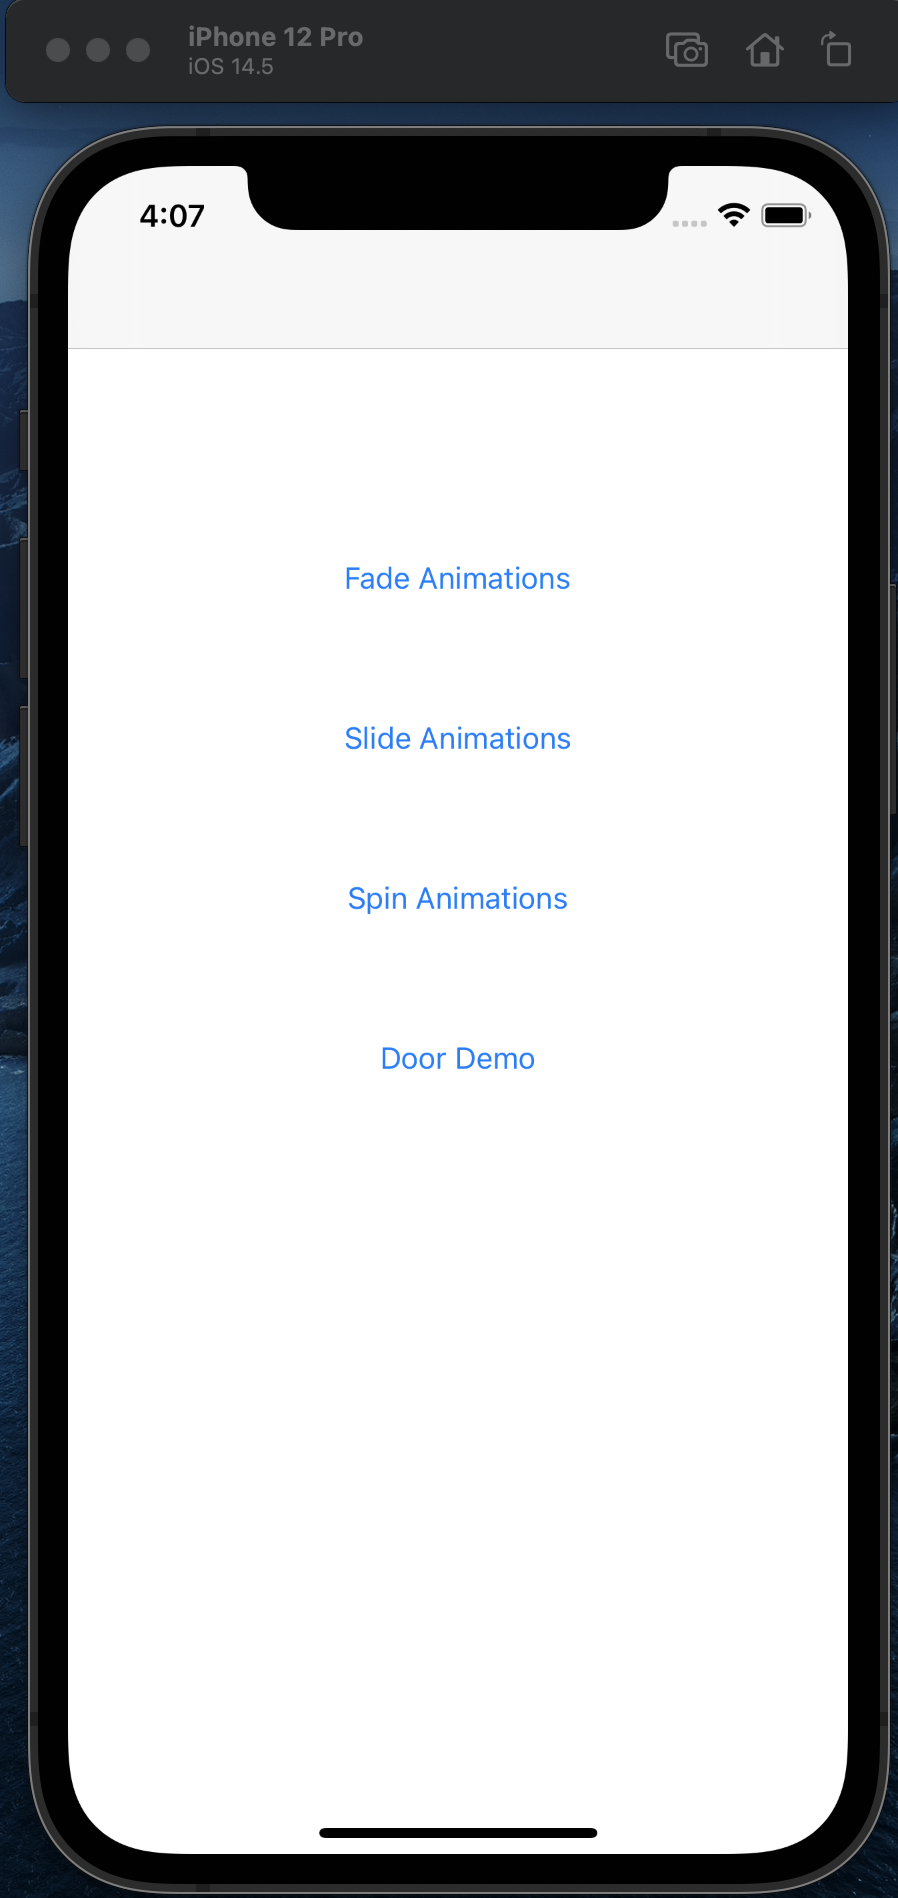
In this exercise, we will create an app with several screens that enable us to demonstrate different kinds of animation.

Getting Started

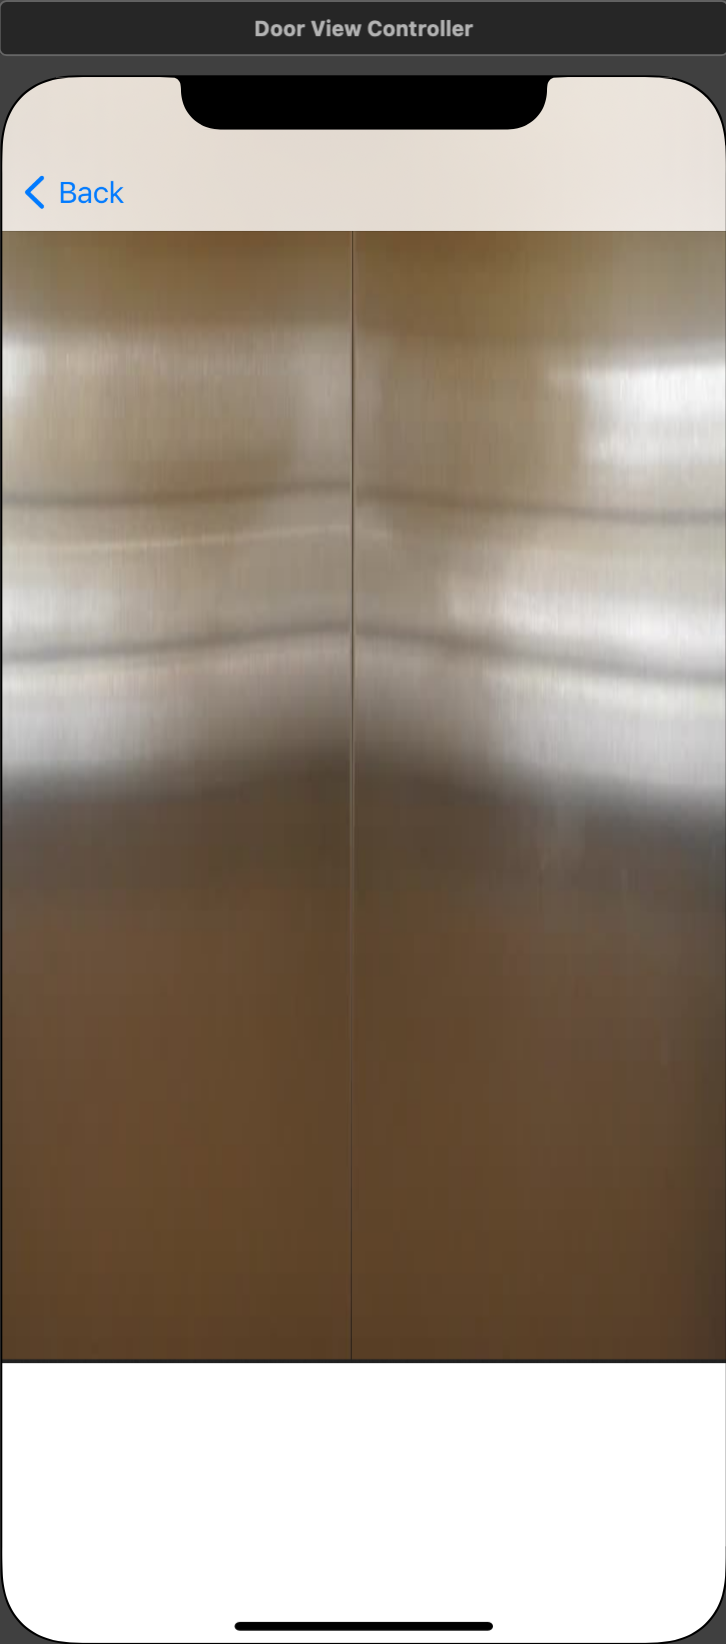
Our app will contain 5 VCs: the main View Controller (Fig.1), a Fade View Controller (Fig. 2), a Slide View Controller (Fig. 3), a Spin View Controller (Fig. 4), and a Door View Controller. Figures 5 and 6 show two different views of the Door View Controller with doors open and closed.

Picture of Storyboard
Figure 1. View Controller
Picture of Storyboard
Figure 2. Fade View Controller
Picture of Storyboard
Figure 3. Slide View Controller
Picture of Storyboard
Figure 4. Spin View Controller
Picture of Storyboard
Figure 5. Door View Controller (open)
Picture of Storyboard
Figure 6. Door View Controller (closed)


The Main VC

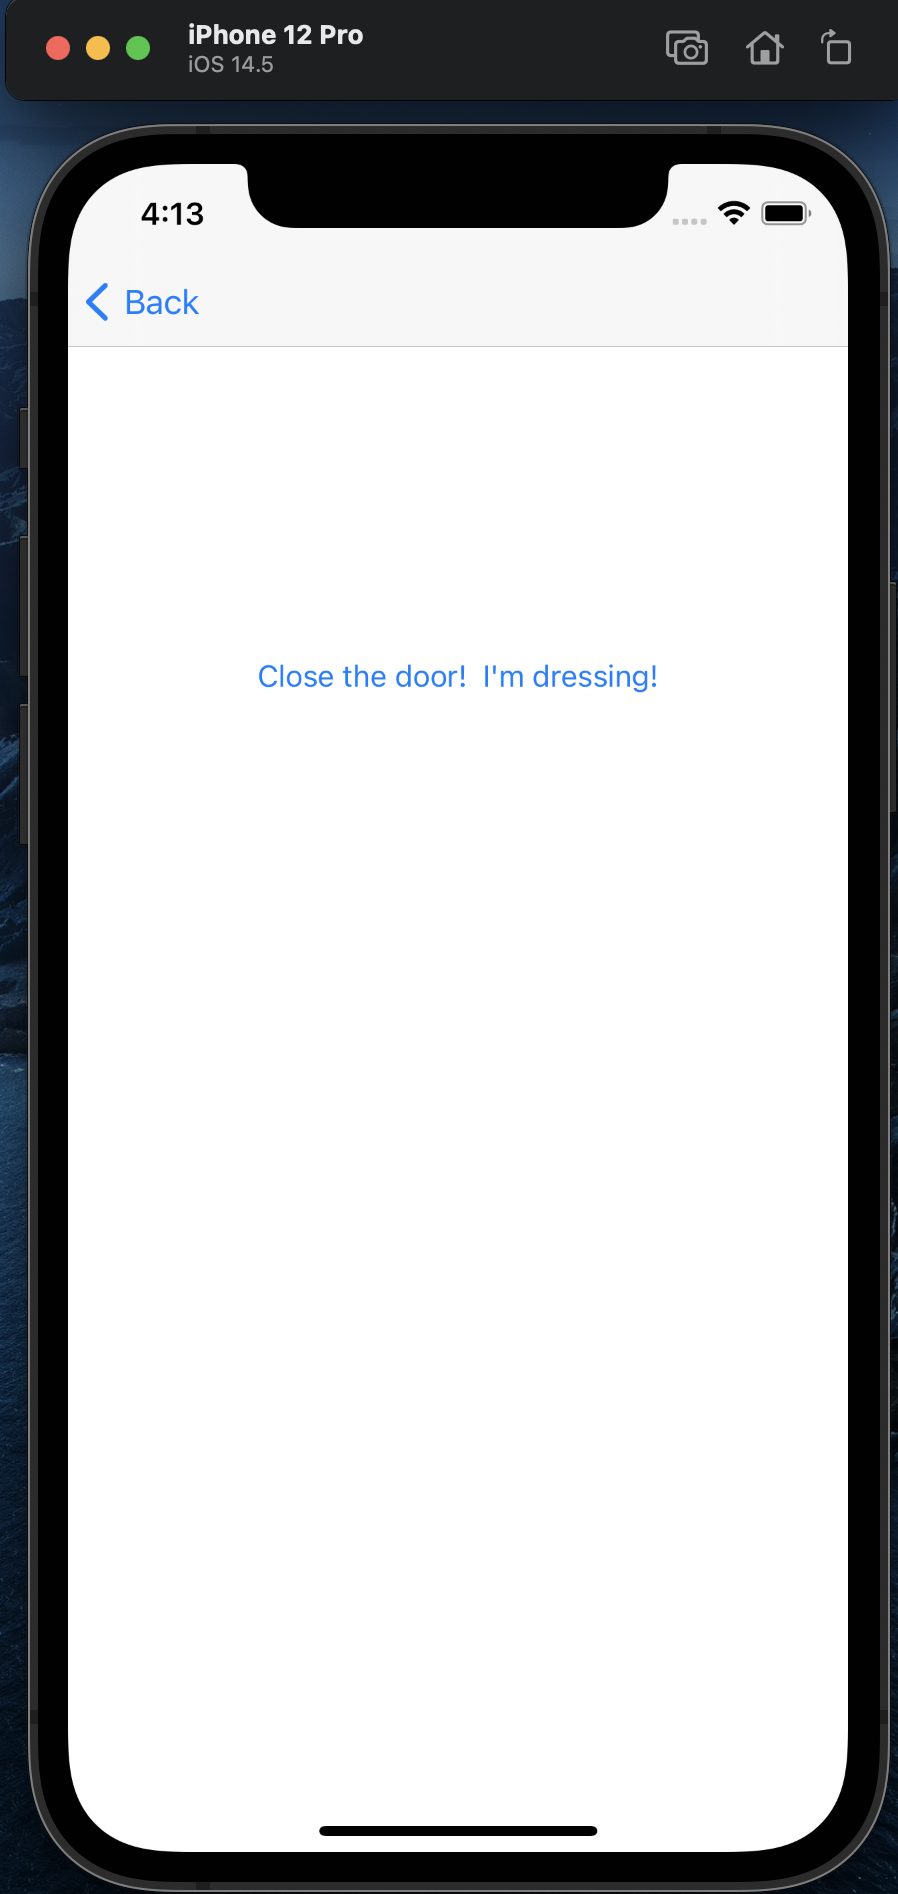
The Main VC is the default View Controller created by Xcode when you create the project. The code for this VC is in the file ViewController.swift.

  1. For the Main VC, drag and drop four buttons from the library and place them as shown in Figure 1. Rename them "Fade Animations", "Slide Animation", Spin Animations", and "Door Demo".
  2. Select the VC, and embed it in a Navigation Controller as we've done before (using Editor -> Embed In… -> Navigation Controller).

That's it for now - you don't need to add any code to the file!

The Fade VC

  1. Drag a new View Controller from the library into the storyboard.
  2. Create a new Cocoa Touch Class file to contain the code for this new VC. Call it FadeViewController.swift. Remember to change the class of the VC in the storyboard
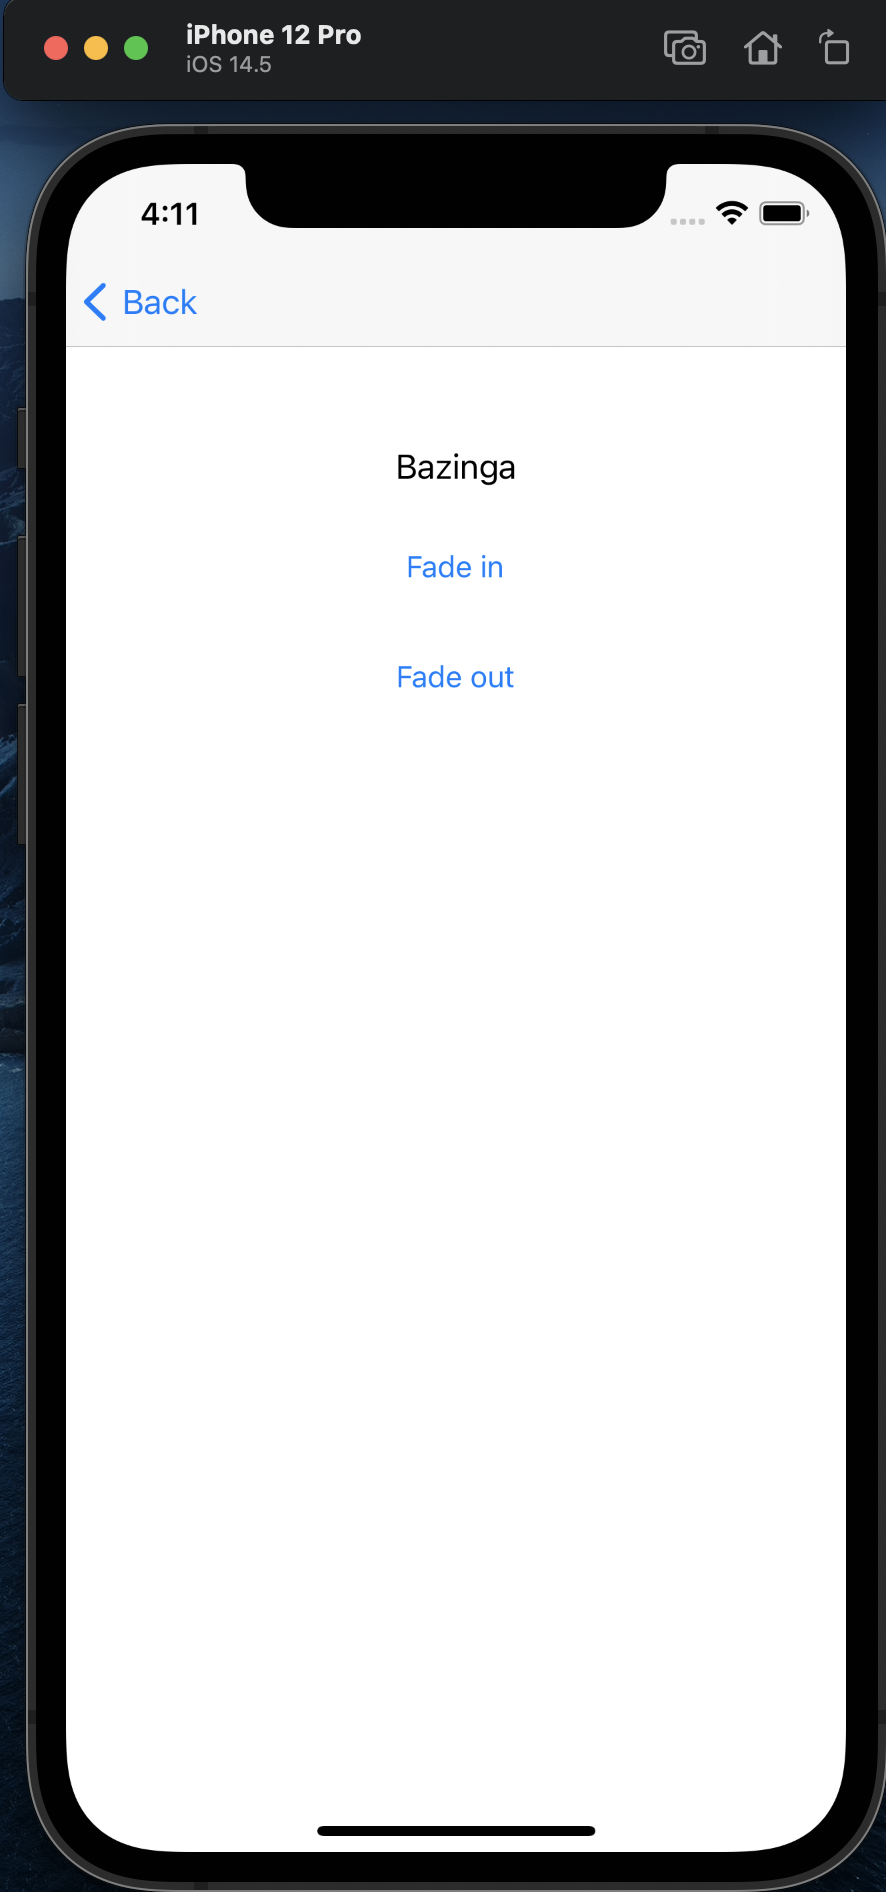
 to FadeViewController.
  3. Drag a label from the library to the new VC and change the text to "Bazinga".
  4. Add an outlet from the label to the new VC connecting it to a variable named labelBazinga.
  5. Drag two buttons from the library and rename them "Fade in" and "Fade out". Add Actions for the buttons that connect them to functions in the FadeViewController.swift file. Name the functions onButtonFadeIn and onButtonFadeOut.
  6. Add code to the FadeViewController.swift file for onButtonFadeOut.
  7.     @IBAction func onButtonFadeOut(_ sender: Any) {
            // Starting alpha value
            self.labelBazinga.alpha = 1.0
            
            UIView.animate(
                withDuration: 1.0,
                animations: {
                self.labelBazinga.alpha = 0.0
                }
            )
        }
    
    
  8. Add a segue from the button "Fade Animations" to the FadeViewController.

Build and run the app to see if everything works.

The Slide View Controller

  1. Drag a new View Controller from the library into the storyboard.
  2. Create a new Cocoa Touch Class file to contain the code for this new VC. Call it SlideViewController.swift. Remember to change the class of the VC in the storyboard
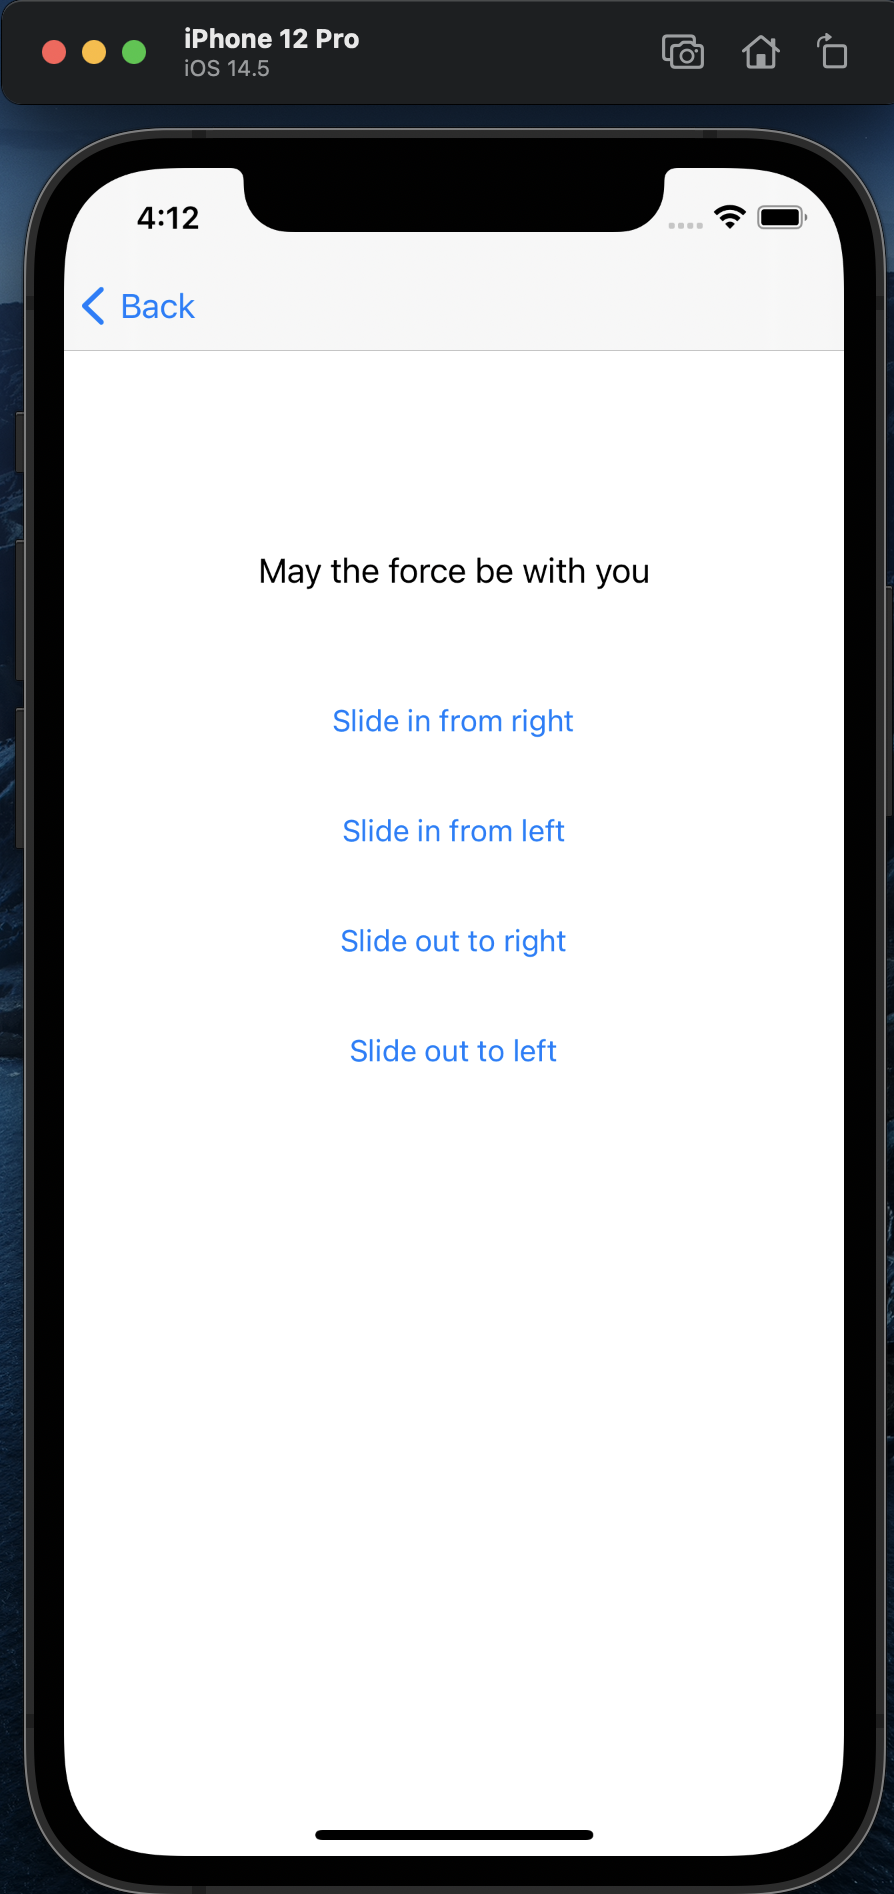
 to SlideViewController.
  3. Drag a label from the library to the new VC and change the text to "May the force be with you".
  4. Add an outlet from the label to the new VC connecting it to a variable named labelMayTheForce.
  5. Drag four buttons from the library and rename them "Slide in from right", "Slide in from left", "Slide out to right", and "Slide out to left". Add Actions for the buttons that connect them to functions in the SlideViewController.swift file. Name the functions onButtonSlideInFromRight, onButtonSlideInFromLeft, onButtonSlideOutToRight, and onButtonSlideOutToLeft.
  6. Add code to the SlideViewController.swift file for onButtonSlideInFromRight.
  7.     @IBAction func onButtonSlideInFromRight(_ sender: Any) {
            
            // Starting center value
            self.labelMayTheForce.center.x = self.view.center.x + self.view.bounds.width
            
            UIView.animate(
                withDuration: 3.0,
                animations: {
                    self.labelMayTheForce.center.x -= self.view.bounds.width
                } 
            )
        }
    
    
  8. Add a segue from the button "Slide Animations" to the SlideViewController.

Build and run the app to see if everything works.

The Spin View Controller

  1. Drag a new View Controller from the library into the storyboard.
  2. Create a new Cocoa Touch Class file to contain the code for this new VC. Call it SpinViewController.swift. Remember to change the class of the VC in the storyboard
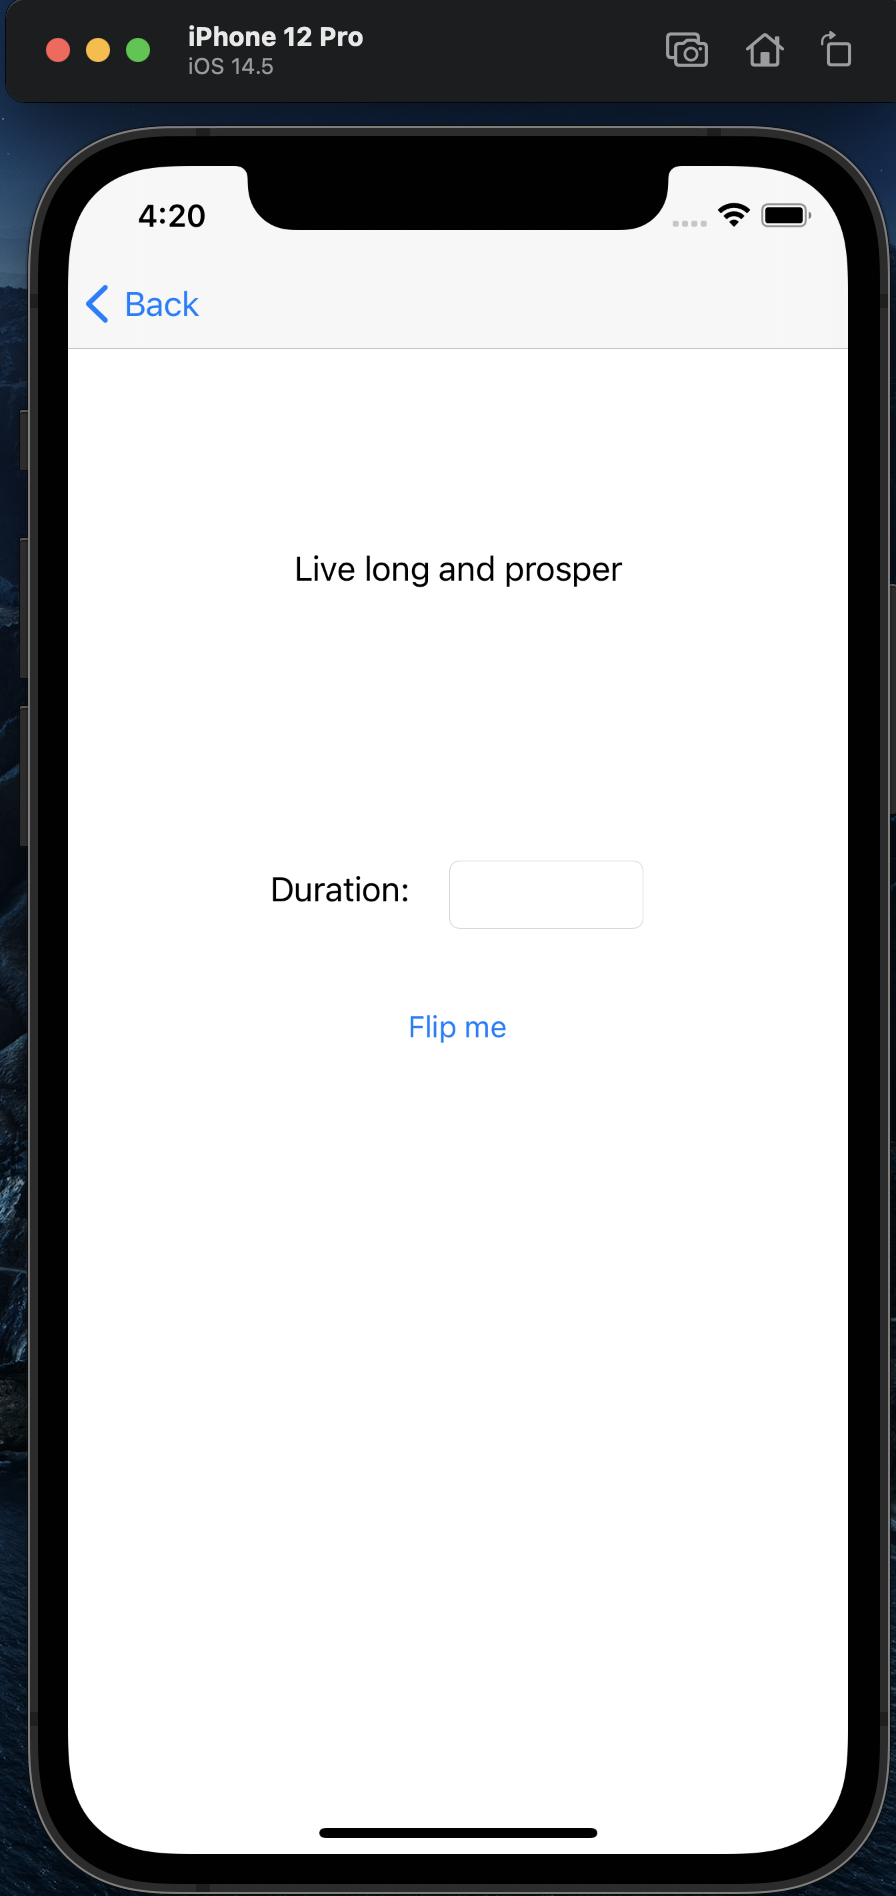
 to SpinViewController.
  3. Drag a label from the library to the new VC and change the text to "Live long and prosper".
  4. Drag a label from the library to the new VC and change the text to "Duration".
  5. Drag a text field from the library to the new VC and place it next to the Duration label.
  6. Add outlets from the labels and the text field to the new VC connecting it to variables named labelProsper, labelDuration, and textFieldDuration.
  7. Drag a button from the library and rename it "Flip me". Add an Action for the button that connects it to the onButtonStartSpin function in the SpinViewController.swift file.
  8. Add code to the SpinViewController.swift file for onButtonStartSpin.
  9.     @IBAction func onButtonStartSpin(_ sender: Any) {
            
            // Starting transform value
            
            var durationValue = 3.0  // Default duration
            if let duration = textfieldDuration.text {
                if let durationFloat = Double(duration) {
                    durationValue = durationFloat
                }
            }
            
            UIView.animate(
                withDuration: durationValue,
                animations: {
                    // 180 degree rotation
                    self.labelProsper.transform =
                        self.labelProsper.transform.rotated(by: CGFloat(Double.pi))
                    }
            )
            
        }
    
  10. Add a segue from the button "Spin Animations" to the SpinViewController.

Build and run the app to see if everything works. Try entering different values in the text field and clicking the button.

The Door View Controller

  1. Download the files leftDoor.png and rightDoor.png.
  2. Go to the file Assets.xcassets in the File Navigator. Drag and drop the two .png files directly into the Canvas to create two new assets called leftDoor and rightDoor.
  3. Drag a new View Controller from the library into the storyboard.
  4. Create a new Cocoa Touch Class file to contain the code for this new VC. Call it DoorViewController.swift. Remember to change the class of the VC in the storyboard to DoorViewController.
  5. Drag a button from the library and rename it "Close the door! I'm dressing!". Add an Action for the button that connects it to the onCloseButtonPressed function in the DoorViewController.swift file.
  6. Drag a Image View from the library and rename it "Left Door". In the Attributes Inspector, change the Image property to "leftDoor". In the Size Inspector, set the values of X, Y, Width, and Height to 0, 0, 200, and 736 respectively.
  7. Drag a Image View from the library and rename it "Right Door". In the Attributes Inspector, change the Image property to "rightDoor". In the Size Inspector, set the values of X, Y, Width, and Height to 200, 0, 214, and 736 respectively.
  8. Add outlets from the Image Views to the new VC connecting it to variables named leftDoor and rightDoor.
  9. Add code to the DoorViewController.swift file for viewDidAppear.
  10.     override func viewDidAppear(_ animated: Bool) {
            
            UIView.animate(
                withDuration: 0.7,
                delay: 1.0,
                options: .curveEaseOut,
                animations: {
                    self.leftDoor.frame.origin.x -= self.leftDoor.frame.size.width
                    self.rightDoor.frame.origin.x += self.rightDoor.frame.size.width
                },
                completion: { finished in
                    print("Doors opened!")
            })
        }
    
  11. Add code to the DoorViewController.swift file for onCLoseButtonPressed.
  12. @IBAction func onCloseButtonPressed(_ sender: Any) {
            
            UIView.animate(
                withDuration: 0.7,
                delay: 1.0,
                options: .curveEaseOut,
                animations: {
                    self.leftDoor.frame.origin.x += self.leftDoor.frame.size.width
                    self.rightDoor.frame.origin.x -= self.rightDoor.frame.size.width
                },
                completion: { finished in
                    print("Doors closed!")
            })
        }
    
  13. Add a segue from the button "Door Demo" to the DoorViewController.

Build and run the app to see if everything works.

Additional Exercises