Getting Started
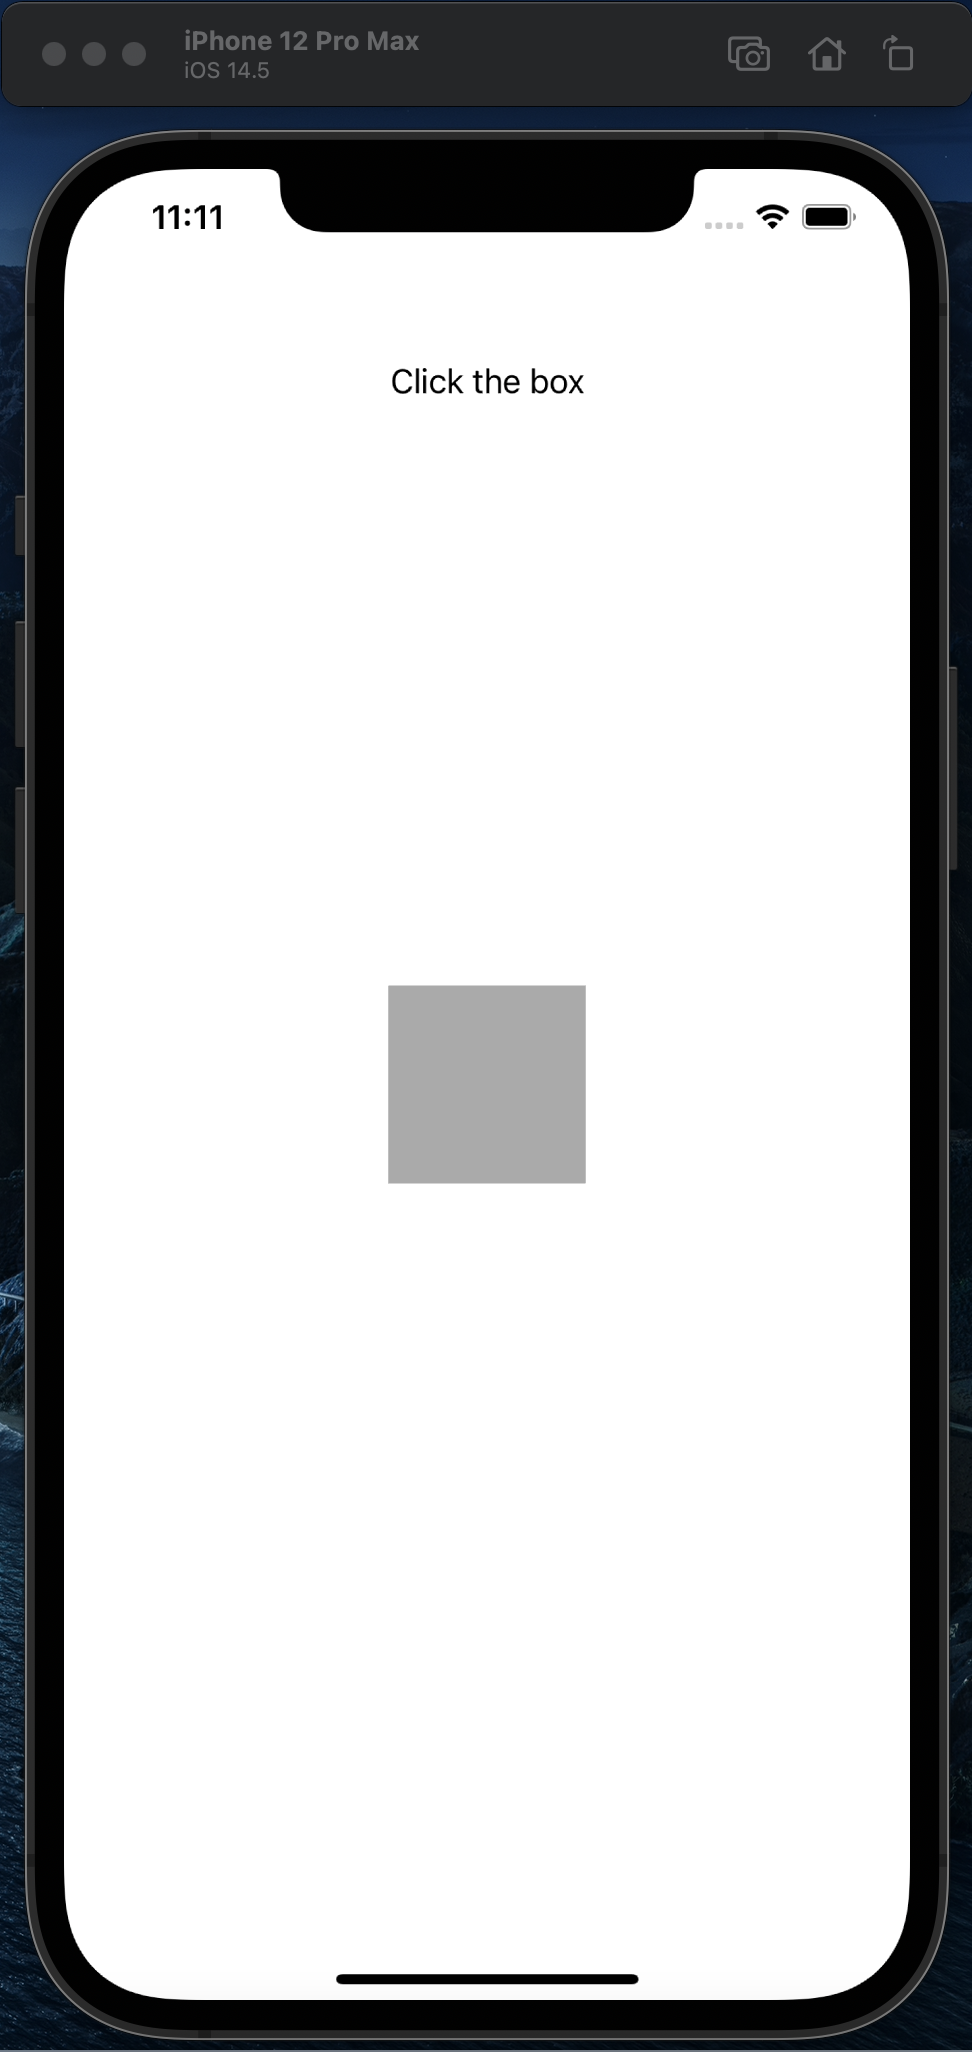
Our app will contain just one VC: a main View Controller wth a label and a square box in it (Fig.1).
The Main VC
The Main VC is the default View Controller created by Xcode when you create the project. The
code for this VC is in the file ViewController.swift.
- Drag a Label object from the library into the storyboard. Change the initial text displayed in the label to "Click the box". Set the Alignment so that the text will always be centered in the label. Stretch the label to make it wide enough to handle longer strings (like maybe half the width of the screen) and place it near the top of the screen, centered horizontally.
- Drag a new View object from the library into the storyboard. In the inspector, set its background color to "Light Gray Color". Change its shape so that it's a square, and then place it roughly in the center of the screen.
- Add an outlet from the label connecting it to a variable named
boxLabel. - Add an outlet from the View (box) connecting it to a variable named
viewBox.
Adding a Pan Gesture Recognizer
- Drag a
Pan Gesture Recognizerfrom the library, and drop it on top of the View object. (Then click on the Pan Gesture Recognizer and take a look at the Connections Inspector. You should see the new link.) - In ViewController.swift, add the following code to handle the drag ("pan") gesture:
    @IBAction func recognizePanGesture(recognizer: UIPanGestureRecognizer)
    {
        boxLabel.text = "Drag"
        let translate = recognizer.translation(in: self.view)
        recognizer.view!.center = CGPoint(x:recognizer.view!.center.x + translate.x,
                                      y:recognizer.view!.center.y + translate.y)
        recognizer.setTranslation(.zero, in: self.view)
    }
Note that you are not creating an IBAction the same way you have in the past - by control-dragging from a storyboard object to the code! We will add the connection separately. - Go back to the storyboard, and control-drag from the Pan Gesture Recognizer object to the View Controller.
A menu will pop up: choose
recognizePanGesture. Confirm that inViewController.swift, the IBAction now has a gray dot. - Click on the View and go to the Attribute Inspector. Make sure "User Interaction Enabled" is clicked on.
Build the project and run it. See if you can drag the box around the screen.
Adding a Tap Gesture Recognizer
In a similar fashion, add a Tap Gesture Recognizer to the same View object. Add the following
code to handle the tap gesture:
    @IBAction func recognizeTapGesture(recognizer: UITapGestureRecognizer)
    {
        boxLabel.text = "Tap"
        let colorRed: CGFloat = CGFloat(arc4random()) / CGFloat(RAND_MAX)
        let colorGreen: CGFloat = CGFloat(arc4random()) / CGFloat(RAND_MAX)
        let colorBlue: CGFloat = CGFloat(arc4random()) / CGFloat(RAND_MAX)
        viewBox.backgroundColor = UIColor(red: colorRed, green: colorGreen, blue: colorBlue, alpha: 1)
    }
Build the project and run it. Tapping the box once should cause it to change to a random color..
Additional Exercises
- Add a
Long Press Gesture Recognizer. Add the following code to handle the long press gesture:@IBAction func recognizeLongPressedGesture (recognizer: UILongPressGestureRecognizer) { boxLabel.text = "Long Press" viewBox.backgroundColor = UIColor.black }Build the project and run it. Holding your mouse (finger) down on the box once should cause it to change color to black. - Add a
Rotation Gesture Recognizer. Add the following code to handle the gesture that allows you to rotate an object:@IBAction func recognizeRotateGesture(recognizer: UIRotationGestureRecognizer) { boxLabel.text = "Rotate" recognizer.view!.transform = recognizer.view!.transform.rotated(by: recognizer.rotation) recognizer.rotation = 0 }Build the project and run it. To rotate an object on a real iPhone device, you touch the screen with two fingers and move them in a twisting motion. To simulate this action on the Simulator, hold down on the Option key on your keyboard. This causes two gray dots to appear on the Simulator screen. Hold your mouse down on the screen to simulate a finger press, and move it in a circular pattern to rotate the object. - Add a
Pinch Gesture Recognizer. Add the following code to handle the gesture that allows you to stretch and shrink an object:@IBAction func recognizePinchGesture(recognizer: UIPinchGestureRecognizer) { boxLabel.text = "Resize" recognizer.view!.transform = recognizer.view!.transform.scaledBy(x: recognizer.scale, y: recognizer.scale) recognizer.scale = 1 }Build the project and run it. To stretch or shrink an object on a real iPhone device, you touch the screen with two fingers and move them apart or closer together. To simulate this action on the Simulator, hold down on the Option key on your keyboard. This causes two gray dots to appear on the Simulator screen. Hold your mouse down on the screen to simulate a finger press, and move it in and out to shrink or stretch the object.