Add the ability to select a portion of an image and save
that portion to a file. To do this you use the Select Region of Interest
function on the Multimedia palette.
(on Block Diagram)
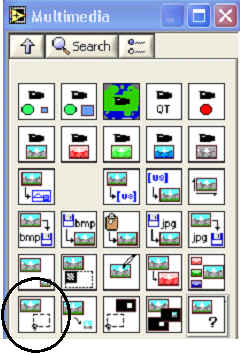
One way of doing this is to add a button that when pressed allows the user
of the program to select and save a portion of the whole image. To complete
this option you will also need a case structure, a button to start this
option, and a Save to BMP function.
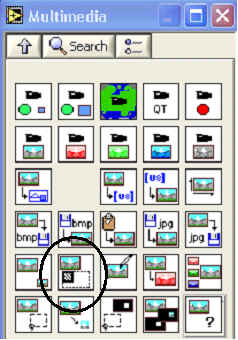
Add the ability to zoom in on the image. The Zoom Image
function takes an image and doubles the size of that image. You could either
zoom in on a whole picture or use the zoom on the portion selected in option
1.
(on Block Diagram)
Add the ability to smooth an image. To do this use the Smooth
function on the Advanced Video palette. Note, the Smooth function
only works on a grayscale image.
(on Block Diagram)
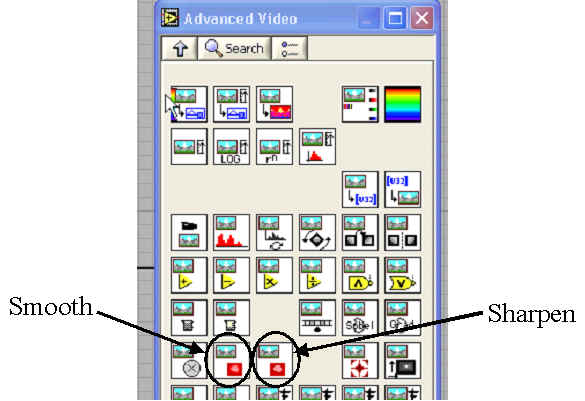
Add the ability to sharpen an image. To do this use the Sharpen
function on the Advanced Video palette. Note, the Sharpen
function only works on a grayscale image.
Use one of the other type of filter functions on the
palette. This is your chance to explore the various prebuilt functions for
manipulating images. Note, most of these functions only work on grayscale
images.
Create your own filter. This is a very interesting option.
On your block diagram add a Kernel function.
(on Block Diagram)
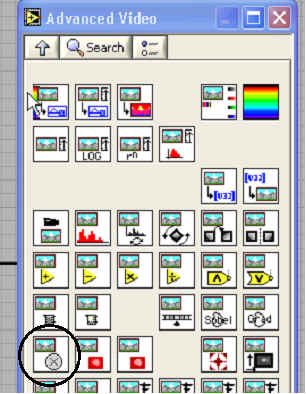
Wire the original image to the input of the Kernel function. What
this function does is replace the color in a single element or pixel of the
image. Instead of using a look up table the new color is determined based on
the color of the original pixel and the color of the 8 surrounding
pixels.
Add a Convert to Picture function and wire the output of the Kernel
function to that. Then right click the output of the Convert to Picture function
and create an indicator for the output so the new, filtered picture will be
displayed. That's the easy part. The interesting part is determining the
filter. There are two options for the filter, to make it a control on the
front panel or make it a constant on the block diagram.
Making a control on the front panel for the filer is easy. Simply right
click on the lower left input to the Kernel function and choose Create
>> Control. Notice the control that appears on the front panel.
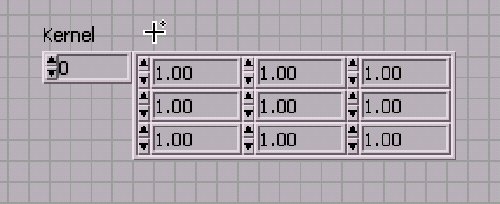
The middle block represents the original pixel. The surrounding blocks
indicate the surrounding 8 pixels. When you run the program the image
generated by the filter uses the values from the 2 dimensional array to
create a new image. As you increase or decrease a number in the kernel
control that raises or lowers the amount a given pixel's color is based on
that color from the array.
Another alternative is to create a fixed filter. To do this delete the
kernel control, but not the kernel function. Go up to the top function menu
and select the array palette.
(on Block Diagram)

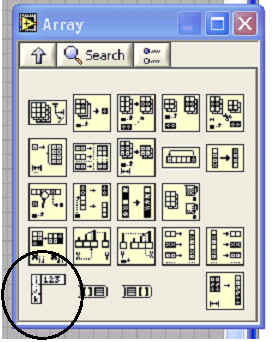
Select and drag an Array Constant function to the block diagram. The
resulting icon looks like this:
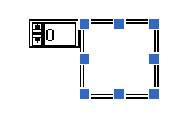
This is a one dimensional array which is like a list of numbers. We want a
two dimensional array which is like a table of numbers or a matrix of
numbers. Right click on the array constant icon and select Add Dimension.
This will change it from a one dimensional array to a two dimensional array.
Now we need to fill in values for the array constant. To do this navigate
back up to the top level of the functions palette. Select the Numeric
palette. On the Numeric palette select and drag a numeric constant
icon to the insides of the array constant icon. the result will loop like
this:
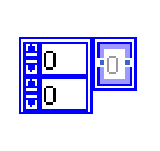
The two boxes with zeros and up and down arrays are used to select the
element of the array to look at. The box with the light border represents
the element itself and its value. We want to expand the array so that it is
3 by 3. Position the cursor on the lower right corner of the element, the
box with the light border. The cursor should change to an expansion icon.
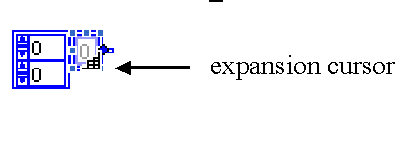
Click and drag the cursor down and to the right to expand the array to a 3
by 3 matrix. When that is done we want to resize the cell boxes themselves.
Position the cursor on the sides of one of the boxes until the cell
expansion icon appears. Click and drag to expand the cells.
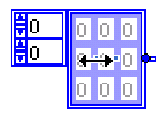
The result should be something like this:
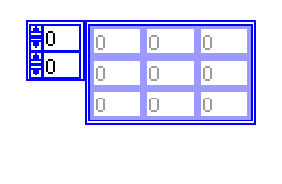
Now we actually have to fill in values for the 9 elements in the matrix.
Double click on a cell and type in a value. This value represents how much a
pixel's value should depend on the neighboring pixel, (or itself.) The
higher the number the greater the effect. Use values between 1 and 20.
Notice that when cells have been given values they change from a light blue
border to dark blue. When all 9 cells have been changed wire the output of
the matrix to the input of the Kernel function. Even if you want to
keep a value at 0 you need to double click that cell and type in 0. Run the
program. What values for the matrix soften or smooth the image? What values
sharpen the image?
What next? Try some of the other filters in the advanced video section. Determine what the filters you try do to the image.