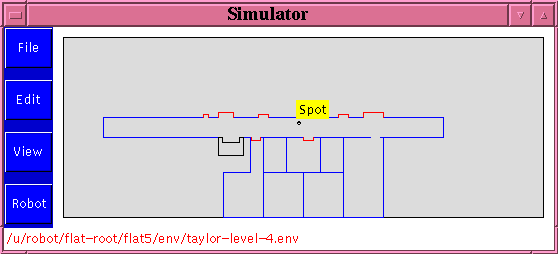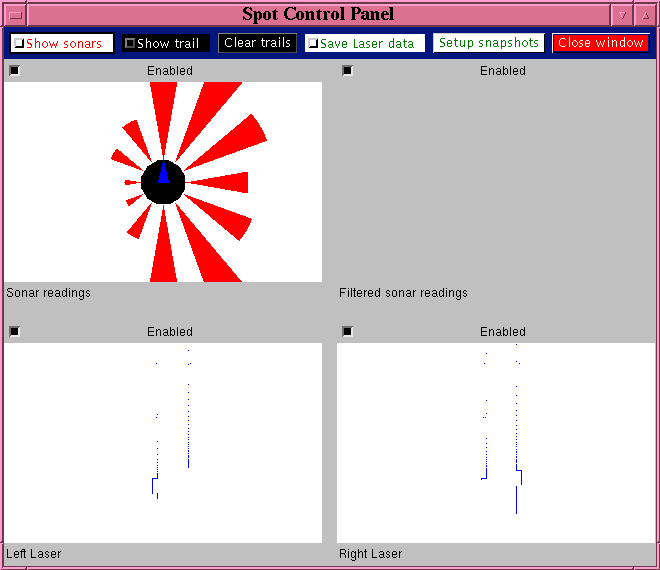

| Show Sonars turns on the sonar display in the environment window, not in the Control Panel. The Enabled buttons control each individual display in the Control Panel. |  |
| Show Trails turns on "trails" in the environment window. The display will mark the trail of the robot with round circles. | |
| Clear Trails clears all trails in the environment display. | |
| Save Laser Data enables storing laser rangefinder data to a file.
Specify the file, data capture interval and data format with Setup snapshots.
Each time Save Laser Data is turned on the file is
opened and data are saved. There is no way to append data to an
existing file. When the option is turned off, the data file is closed.
When in dual laser simulation, the display attempts to synchronize the data capture so that Left and Right readings are taken at the same time. Unfortunately, it is sometimes unable to save data because it never synchronizes. At this time, you need to keep trying until it is able to synchronize. In normal use, you should first do Setup snapshots to specify the data file. Then start the robot moving. When the robot gets to the location where you want to start saving data, press Save Laser Data. When you want to stop saving data, press Save Laser Data again. Here are some sample laser images. Use the LaserShow program to view saved data. |
|
| Use the Close Window button to hide the display. The sensor displays are not updated while the control panel is hidden. | |
| The sonar and laser displays show the robot and the current readings. Use the Enabled buttons to turn a display on or off. |