Users can now print to our printers when not connected directly to our network. Please direct any comments or questions about wireless printing that are outside the scope of this document to help@cs.utexas.edu.
MacOS
For authentication issues, view Troubleshooting.
(on Endpoint Management)
- Open Launchpad from your dock, search for "UT Self Service", and click on its icon.
- Once it opens, click on "Printers" on the left-hand side beneath "Browse"
- Click on any of the printer groups that you would like to have installed.
- It will prompt you to enter your CS username and password.
- A window should eventually open letting you know that the printers were installed successfully.
- After adding the printer, try to print something. When the printer icon appears in the dock, open the printer. Next, click on the circular arrow. This should bring up a login dialog box.
- Make sure you use your CS username and password, check "Remember this password", then click on OK. Your job should print on the newly-added printer.
Note: You should only need to type your CS username and password the first time you use a newly-installed printer. If you ever change your CS password, you'll need to remove the entry from your "Keychain Access" app.
If you are unable to install a printer group, you may be missing access to one of the printers. If that is the case, please open a helpreq or email help@cs.utexas.edu letting us know.
(not on Endpoint Management)
- Open Launchpad from your dock, search for "Terminal", and click on its icon.
Run the following command, changing the two "CHANGEME" texts to the printer of your choice and your CS username, respectively:
printer="CHANGEME"; user="CHANGEME"; sudo lpadmin -p $printer -U $user -v ipps://printserv-auth.cs.utexas.edu:631/printers/$printer -E -o APOptionalDuplexer=True -o printer-error-policy=abort-job -m everywhereNOTE: If you get an error stating "Unable to create PPD: No IPP attributes.", remove the
-m everywherefrom the above command- When prompted, enter your laptop user's password.
- When prompted with "Password for...", enter your CS password.
- After adding the printer, try to print something. When the printer icon appears in the dock, open the printer. Next, click on the circular arrow. This should bring up a login dialog box.
- Make sure you use your CS username and password, check "Remember this password", then click on OK. Your job should print on the newly-added printer.
Note: You should only need to type your CS username and password the first time you use a newly-installed printer. If you ever change your CS password, you'll need to remove the entry from your "Keychain Access" app.
Linux (on UT Wireless network / CSRES)
Instructions are based on Ubuntu with Gnome, so your experience may vary.
- Make sure you have CUPS installed.
Run the following command, changing the two "CHANGEME" texts to the printer of your choice and your CS username, respectively:
printer="CHANGEME"; user="CHANGEME"; sudo lpadmin -p $printer -U $user -v ipps://printserv-auth.cs.utexas.edu:631/printers/$printer -E -o APOptionalDuplexer=True -o printer-error-policy=abort-job -m everywhereNOTE: If you get an error stating "Unable to create PPD: No IPP attributes.", remove the
-m everywherefrom the above command- Try to print something.
- When choosing a printer, it will prompt you for a username and password. Click "Cancel".
- Click "Print"
- It will prompt you again for a username and password. Enter your CS username and password here.
- Some Desktop Environments will show a check mark to allow you to save your password.
- Every time you print, you will need to repeat step #4, clicking on "Cancel".
Note: Not all applications will print properly, due to the the application not supporting authentication.
Windows 11
Instructions coming soon...
Troubleshooting
No prompt for authentication on MacOS
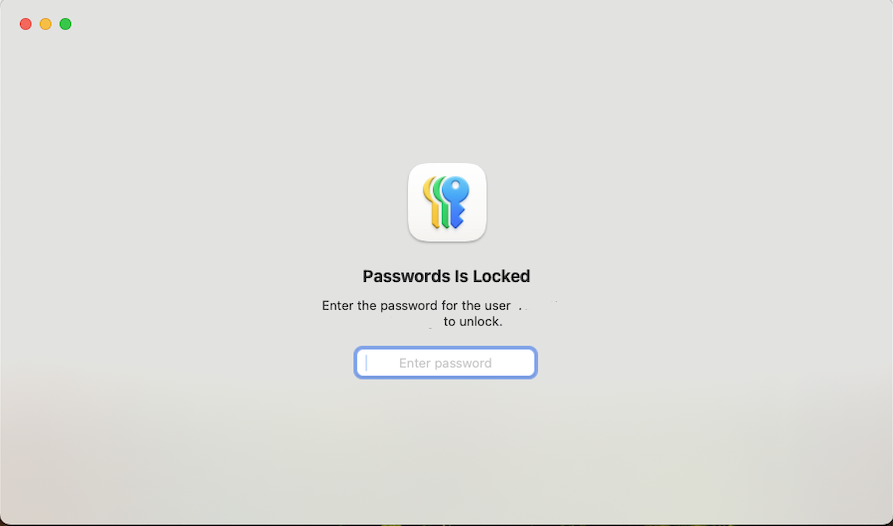
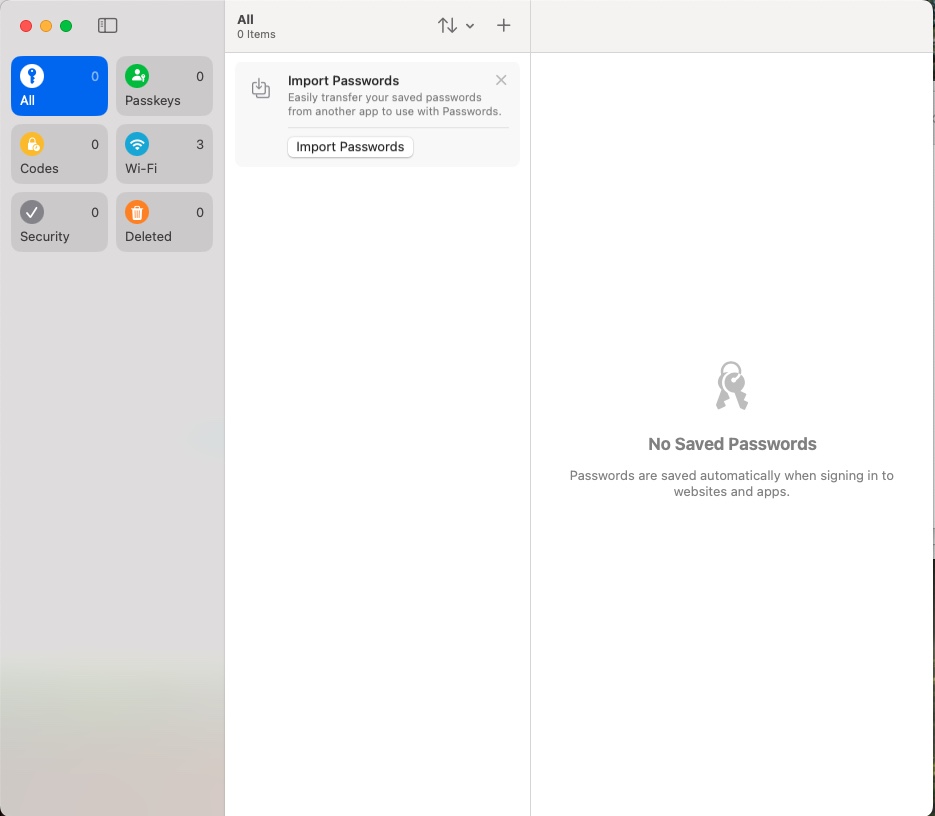
- Open the "Passwords" app.
If locked, type in your laptop password to unlock it.
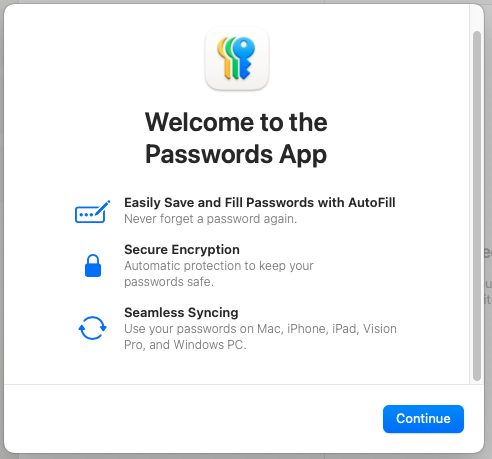
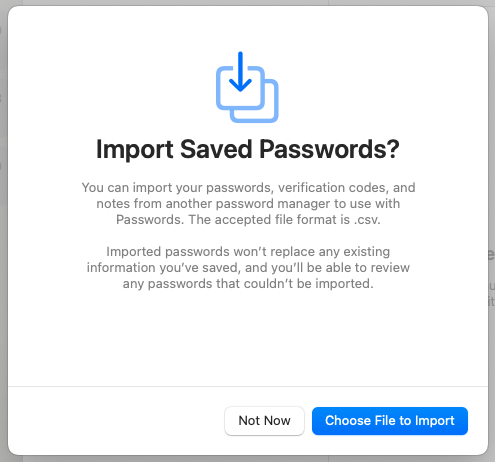
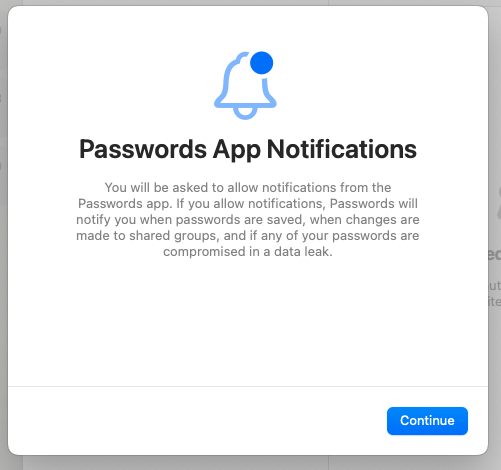
The first time opening the app will ask several questions that you must answer in order to open the Passwords app.
Once at the main screen for the Password app, close it.
- Cancel any pending print jobs and try to print again.
Questions
You should now be able to print wirelessly. If you have questions or problem reports, please send mail to help@cs.utexas.edu.


